beauty

A brow expert, hairdresser and beautician on 8 things we absolutely shouldn't try at home.

If you're anything like us, things are starting to look a wee bit... ragged on the beauty front right now.

Your brows are slinking their way up to your hairline, your last laser appointment was three months ago, you've stressed-picked all your shellac off and you're pretty certain that your split ends now have their own cute little baby split ends.

What fun!

Watch: here's how to fake fringey freshness when you can't get to the salon. Post continues below.


Video via Mamamia.

But this, friends, is when you start having to get ✨resourceful✨ - because there are tonnes of new products and tools out there that make at home beauty a total cinch. 

However! We also know just how wrong the whole DIY beauty thing can go. Incredibly wrong, indeed.

To clear things up and find out what we should avoid at all costs, we've asked a brow expert, hairdresser and beauty therapist to tell us the definite no-no's when it comes to DIY beauty. 

Here are eight things we absolutely shouldn't do at home.
ADVERTISEMENT

1. Tweeze your brows on the regular.

When it comes to the biggest mistakes you're currently making with your brows, Ciara Gallagher from Ciara Gallagher Eyebrows said it's all about not planning properly, over tweezing and tweezing too frequently.

"Tweezing a hair or two might not seem like much but if you are doing it every few days, you could be jeopardising your brows without even noticing," she said.

Listen: We're sorry to say it, but thin brows are making a comeback. Post continues below.

And don't even think about tweezing from the top of the brow - this is apparently a no-go zone! 

Gallagher also said to avoid the temptation of tweezing grey hairs - even though they're bloody annoying and who made them a thing, anyway. 

"They usually grow from the good part of the brow and by tweezing them out you can risk creating a gap," she said.

"Another mistake often made is tweezing the hair out in the opposite direction of growth, this can lead to ingrown hairs and can even damage the hair follicle resulting in the new hair to grow in the wrong direction."

ADVERTISEMENT

Instead of just going gung-ho and hoping for the best (honestly, same), Gallagher said to prep yourself with the right tools and making a plan. 

She said to set up in a well-lit area and have the following tools at hand: 

  • Mirror 
  • A spoolie brush  
  • Tweezers 
  • Small brow scissors  
  • Brow pencil  

"It’s useful to map out your brow first so you have an indication of the hairs you want to tweeze. Use the brow pencil to find the beginning of your brow by holding the pencil vertically at the bridge of your nose and the end of the brow by horizontally holding the pencil from the edge of your nose to the outer corner of your eye."

Got it? Great! Right, now you're going to want to mark these points and NOT tweeze within them. Kay?

ADVERTISEMENT

And remember, less is more when it comes to tweezing.

"Don’t try to reshape or change your brows too much yourself - it’s best to leave that to the professionals. Remember, brows are sisters and not twins so be careful you don’t over tweeze trying to match them up."

2. Trim your brow hairs short.

"As with tweezing, trimming should also to be done with caution. We often rely on the hair length to create fullness throughout the brow, trimming too short can affect the overlook for your brow."

Gallagher said if you're going to trim your brows, do it gradually, because it's easy to do too much at once.

"Use the spoolie to brush the hairs up then carefully trim the really long hairs one by one, you can also brush the brow hair downwards and do the same."

3. Choose a 'close enough' shade to tint your brows.

When it comes to at-home eyebrow tinting, some of the most common mistakes are choosing the wrong colour and leaving the tint on for too long.

"It’s a good idea to reach out to your brow specialist to see if they are offering any home kits with customised tints. If not, they will be happy to advise you on your usual colour or one that will suit."

Gallagher's top tip for tinting? Keep a close eye on progress. Don't whack it all on and get caught up watching Love Island or something... 

"Keep checking the hair with a cotton bud tip. Do not rely on the time suggested, as everybody’s hair takes differently to tint," she said.

ADVERTISEMENT

4. Wax your brows at home.

Put those wax strips down, girl. C'mon, you know how wrong this could go - what were you thinking?!

"Avoid waxing yourself, waxing takes quite a few hairs out at the one time, you definitely don’t want to get that wrong."

5. Use a whole heap of new skincare products.

Splurging on ALL of the jazzy new skincare products during lockdown is just *too* easy. But gosh, it can go wrong.

"It can be quite alluring to start using all those left over products in your skincare cabinet when you’re staring at them every day, not to mention if you’re scrolling social media and seeing everyone post about the latest and greatest," said founder of The Parlour Room Natalie Ferrari. 

"But it’s important to remember that consistency is key."

"If you keep lathering on new products, over-masking or even using products that are out of date (if you’re like me, there’s a few that have been sitting there for a while, so remember to check the shelf life), you could be causing more harm than good."

ADVERTISEMENT

Masking, like, twelve times a day ('cos, no rules) and trying too many different products and treatments at the one time, will only make your skin more pissed off and more fragile. 

You're way better off keeping things simple and consistent, especially if you're dealing with the effects of 'lockdown skin' (breakouts, redness, flaking and the rest of the uninvited gang).

"Before investing in a new product, always ask your therapist first and see what they say, it may have ingredients that won’t suit your skin," adds Ferrari.

6. Balayage or bleach your hair.

This is one that absolutely every hairdresser, ever, will advise you NOT to do. So, maybe... don't.

"Balayaging or bleaching your hair with a supermarket lighter is a BIG no," said Virginie Gayssot, Head of Education and Talent at Franck Provost.

ADVERTISEMENT

Told ya.

When you bleach your hair at home, you're not only risking the colour coming out poorly and damaging your hair, but bleach is a way stronger chemical than hair dye. So, you seriously need to know what you're doing to avoid burning your scalp. 

"Also, using sun-kissed spray found in supermarkets to lighten your hair - this is great if you want yellow or orange hair!" adds Gayssot.

So, yeah. Leave hair lightening to the pros, you guys. They'll be able to colour match to your skin, and of course know how to work with a chemical on your scalp.

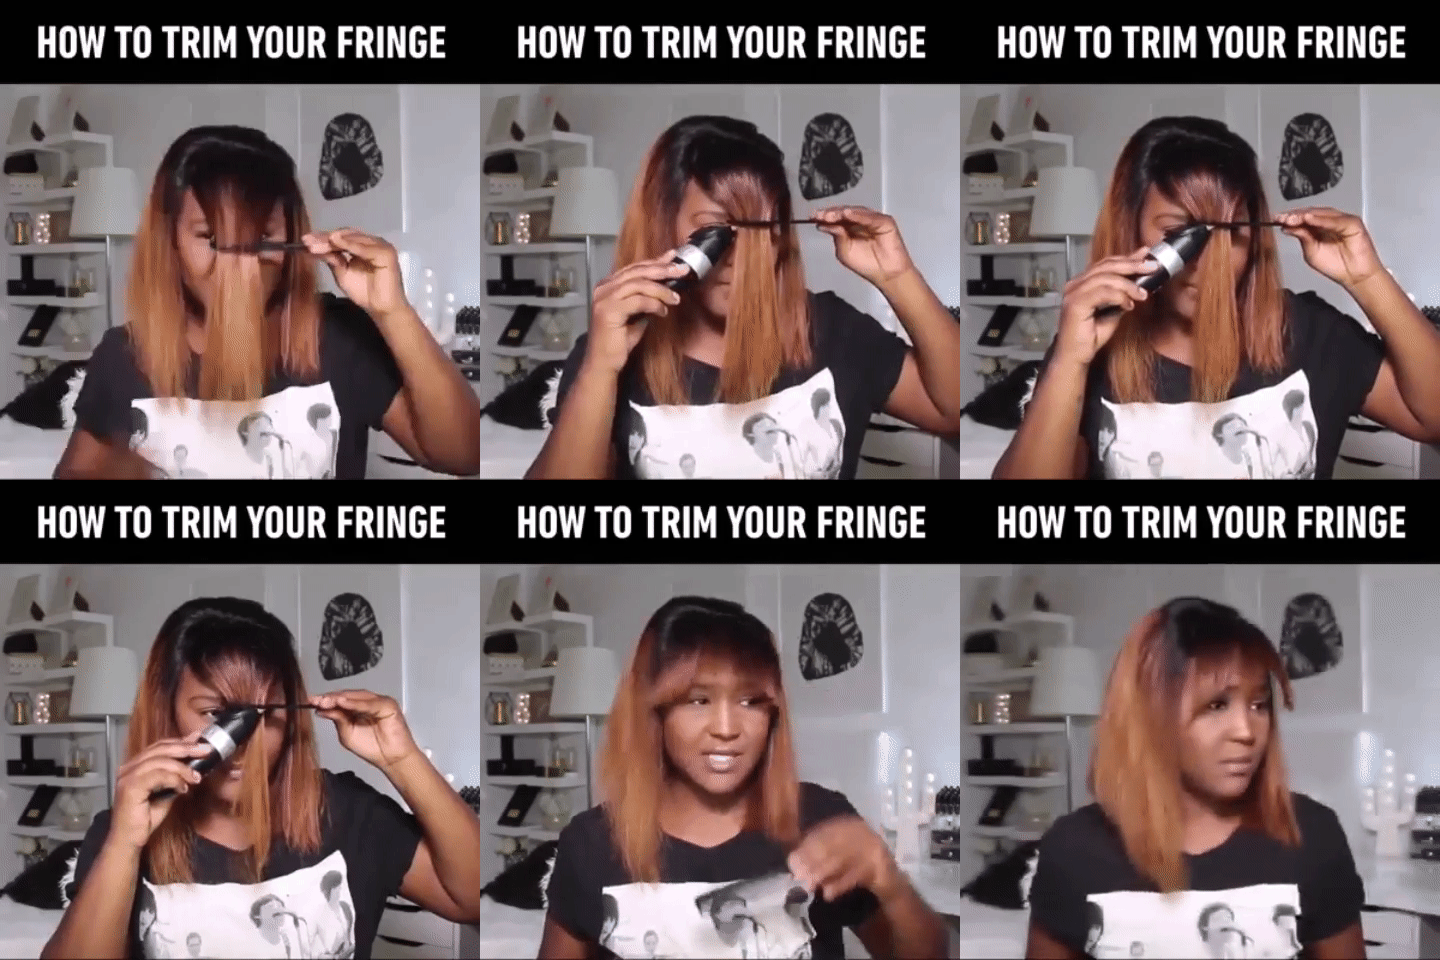
7. Cut your fringe yourself.

Have you... have you already done it? Desperate times call for desperate measures, we get it - but wondering down the DIY fringe route is just never a good idea. 

And hairdressers are, like, SUPER not on board with it because there are so many ways it can go wrong.

"Now is not the time to be cutting bangs! Wait a little longer," said Gayssot.

Get it right and you're Mariane from Normal People. Get it wrong and you're this French YouTuber:

Image: Giphy 

ADVERTISEMENT

8. Pick off existing shellac or SNS.

Anyone who has ever had SNS nails knows the feels. The moment when you're nearing the end of your manicure's life, and you need to make one important decision: To pick or not to pick.

It's incredibly hard not to, especially with salons closed. But as we all already know, if you're stress-picking off your SNS you're going to have a bad time - you'll just end up butchering your nails.

"While the salons are closed, I know it can be tempting, but please, please, do not pick off any existing shellac or SNS," said Ferrari.

"You want to keep your nails strong and healthy, and that means removing them safely. Otherwise, it’s highly likely you’ll scrape the nail and potentially cause some long-term damage to your nail plate." 

ADVERTISEMENT

Yikes.

If your nails are looking super sad at the moment, there is a correct way to remove shellac or SNS at home.

"Instead, look at purchasing some acetone (we have these available in our at-home removal kits) and soaking the nails first, before gently removing the existing polish off," suggests Ferrari. 

ADVERTISEMENT

"And make sure you commit to the aftercare, using a cuticle oil daily to help nourish and hydrate."

Are you guilty of any of the above? Share with us in the comment section below.

Feature image: Getty

Want $100? Tell us about your body-changes for your chance to win one of 3 $100 vouchers.
MMSurvey