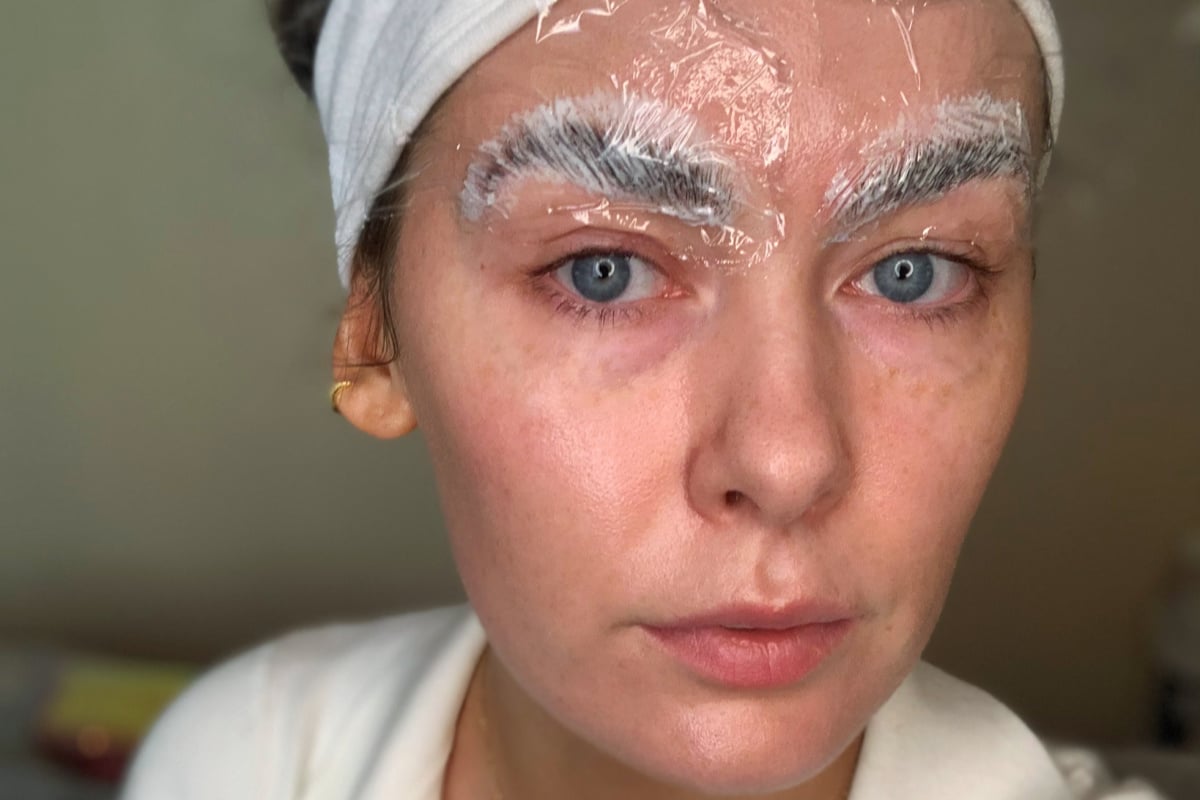
As a beauty lover and #skinfluencer, I’m always up for putting my face on the line to try and test the latest in beauty.
One of those things is the brow lamination trend. My eyebrows are so sparse, I didn’t pluck them for two years in an effort to grow them out. But when I saw Amy Clark’s success with brow lamination back in November, I felt like maybe there could be hope for me and my brows yet.
The in-salon treatment that makes your eyebrows look perfect every day with zero effort usually costs around $120 and lasts for six to eight weeks, but since salons were forced to close, people have been laminating their eyebrows at home.
WATCH: Here’s how to remove acrylic nails at home if you’re in a DIY beauty mood. Post continues below.
I’m a DIY kind of girl, and after loving my in-salon result, I thought… surely I could do this myself, right? What could go wrong?
So, I ordered an at-home brow lamination kit online and gave it a go. Here’s how it went.
But first, remind me… what is brow lamination?
Brow lamination is a perm for your eyebrows that chemically straightens and lifts them into a full shape.
A lot of us have more brow hairs than we think, but they grow in different directions. By perming them all in the same direction (using the same process as a lash lift), they can look a lot fuller. you can combine this with an eyebrow tint to pick up your shorter brow hairs for an even better result.
Brow lamination won’t help if you’ve got thin brows, but it’s perfect for those with sparse or patchy brows, or fuller browed-people who want them to stay in place without any product.


Top Comments