beauty

ROADTEST: "I tried a DIY lash lift at home. Here's exactly how it went."

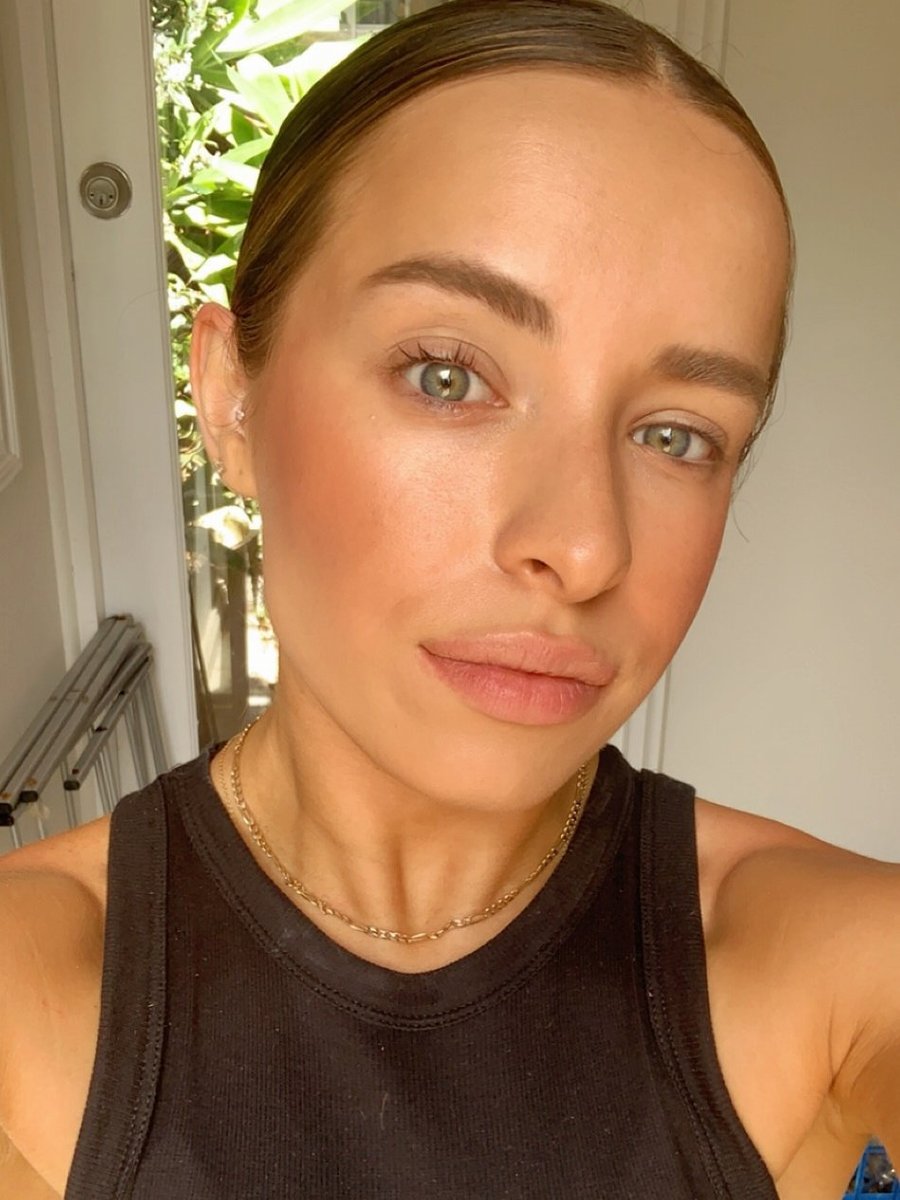
Long, luscious eyelashes were not something I was blessed with. Mine have always been very short and very straight. 

Not terrible, but definitely not impressive. 

So for many years I wore false lashes or got eyelash extensions to add some length and definition. False lashes are great but annoying to apply every single day. The cheap ones (still not super cheap) don't last more than a few goes and the expensive ones are, well, expensive. 

If you're interested in trying false lashes for yourself, watch this handy how-to video. Post continues below.


Video via Mamamia

Eyelash extensions might just be one of my favourite beauty treatments ever, but they take ages to apply, you need to redo them every 10 days to two weeks and they too cost a lot. So sadly, I had to stop.

These days, I stick to mascara. But ahead of summer, I just wanted something... more.

Recently, a lady startup based in Melbourne, called Curled Lashes, sent me their DIY Eyelash Lifting Kit, which retails for $79.95. 

So, even though I've never had a lash lift professionally done, I got my baby lashes ready for a makeover and gave the kit a go.
ADVERTISEMENT

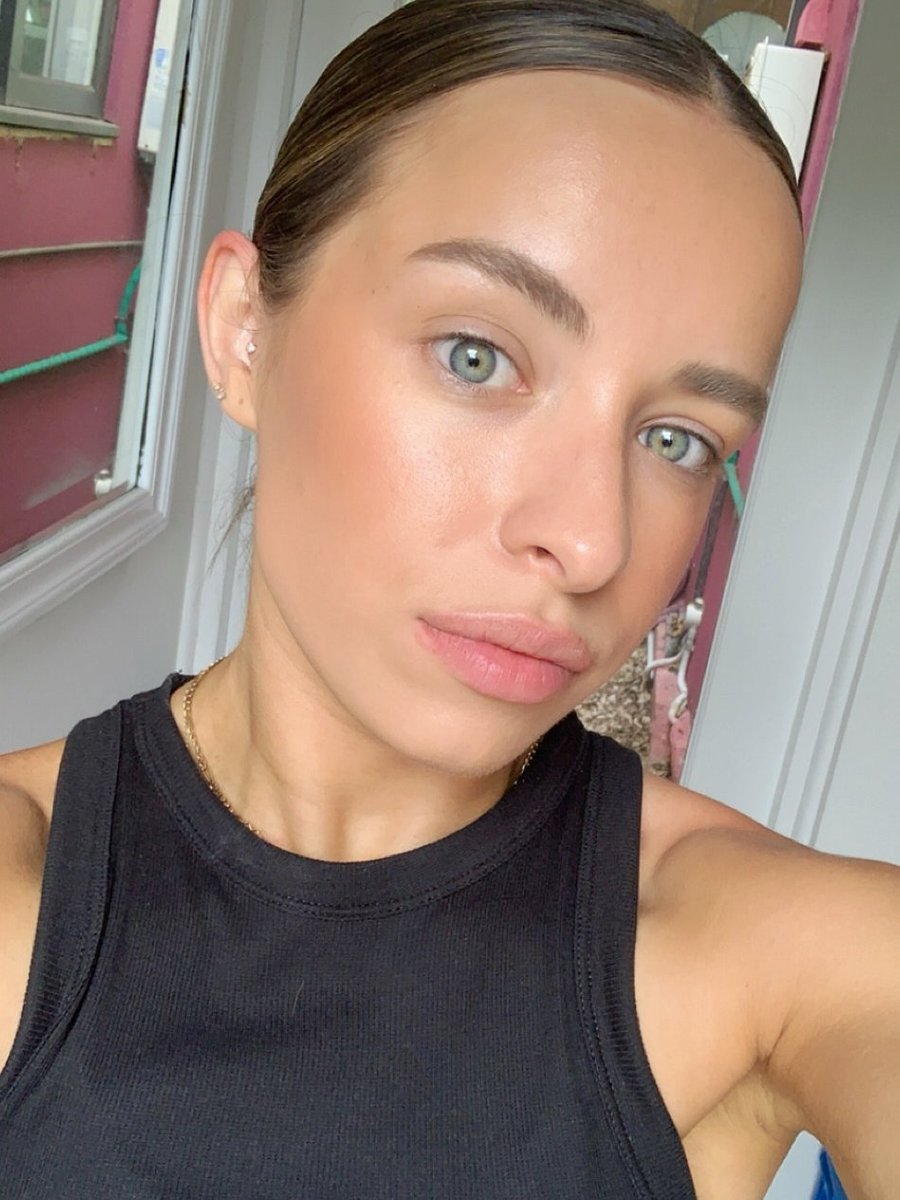
My lashes before anything was applied. Image: Supplied.

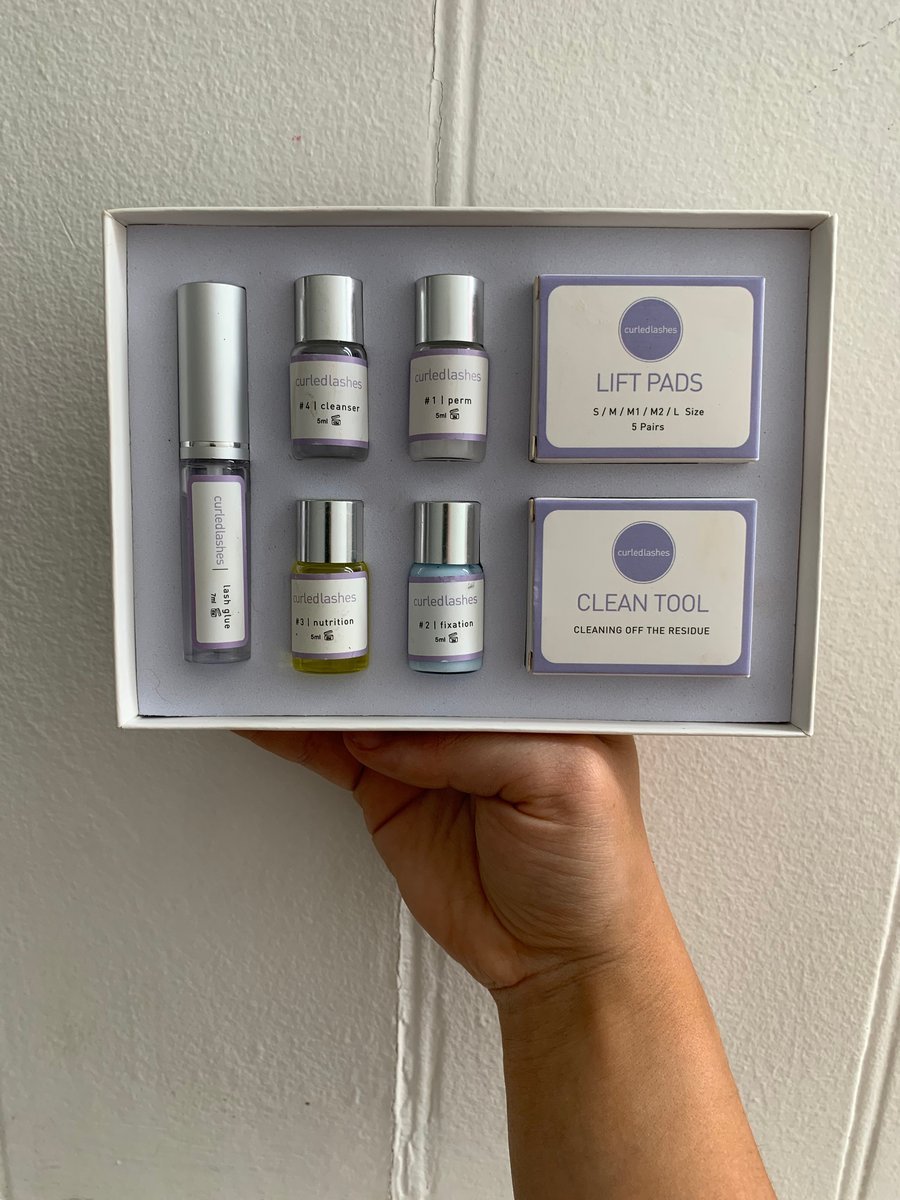
The kit includes everything you need for the at-home treatment. 

There's the glue, four solutions to apply, the lifting pads and the clean tool. It was pretty easy to follow as the kit comes with clear, step-by-step instructions.

The kit. Image: Supplied.

ADVERTISEMENT

Firstly, I had to apply the lift pad to my eyelid. There are five options (S, M, M1, M2, L) to pick from depending on how curled you want your lashes looking. Naturally, I chose L (the most dramatic option) and stuck it just above my lashes. 

Then I had to apply the lash glue to my eyelashes. I was a little apprehensive because I needed to put glue very close to my eyes but it was surprisingly easy (just so you know, I had no issues with any of the products near my eyes during the process).

Next, I grabbed the clean tool and pushed my lashes onto the lift pads.

Then came the fun part: I had to apply the perm solution to my eyelashes and glad wrap them for 10 minutes. Now, silly me did not have glad wrap in the house, so I grabbed some cotton rounds and sticky tape. I will not be including the idiotic pictures of me wearing them, but I promise it was funny.

ADVERTISEMENT

After those 10 minutes were up, I applied the fixation lotion for another 10 minutes. Then I wiped everything off, including the lift pads, and applied the nutrition oil to my eyelashes.

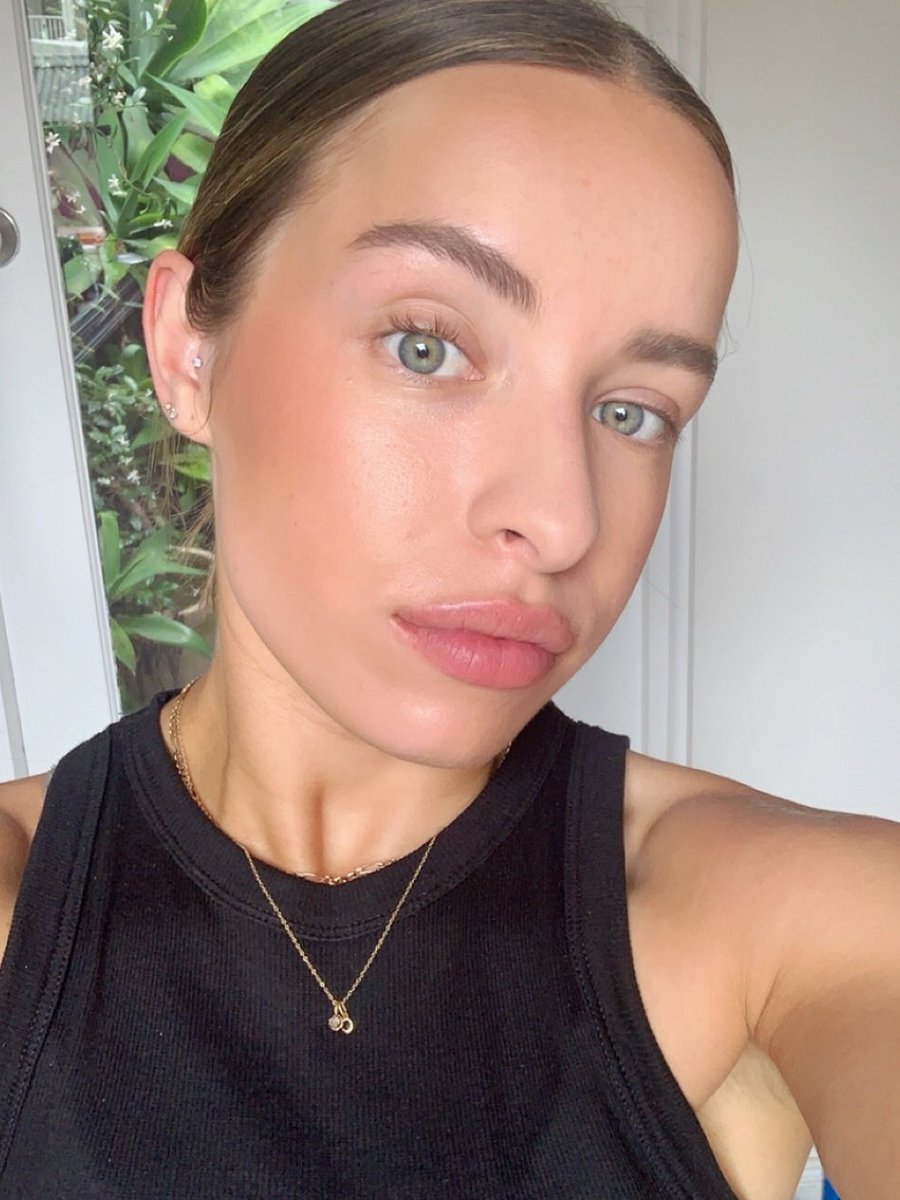
Here's the end result.

After! Image: Supplied.

ADVERTISEMENT

Check that curl!

My lashes held amazingly throughout that week, but annoyingly, because of my makeshift glad wrap, I found that one side was much more curled than the other. I definitely wanted to even things out (and maybe even get some more curl) so I decided to try the process again with the correct materials.

My curled lashes one week later before round two. Image: Supplied.

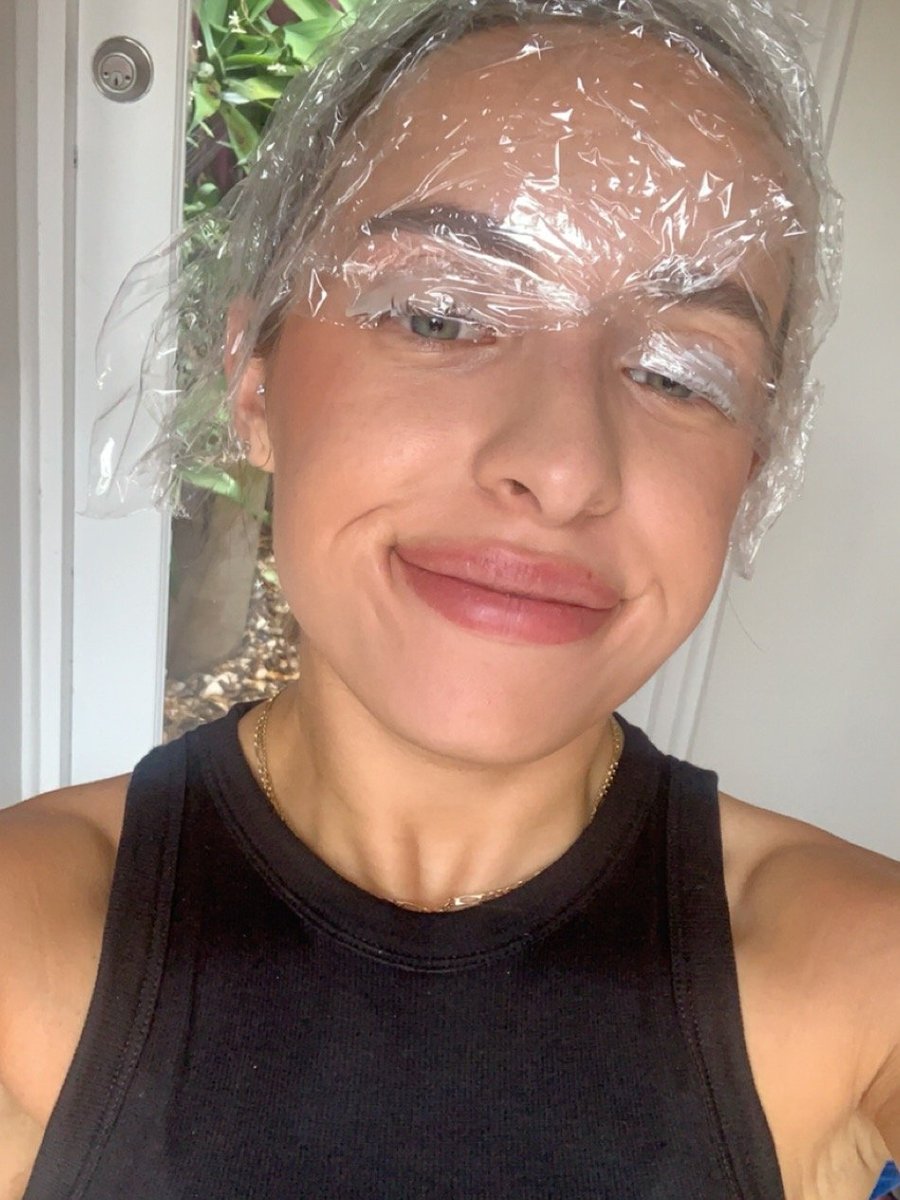
I applied everything the same this time but added the glad wrap as instructed. The second time around, I found it quite a fast, easy process.

ADVERTISEMENT

See how professional I look?

See! With the glad wrap. Image: Supplied.

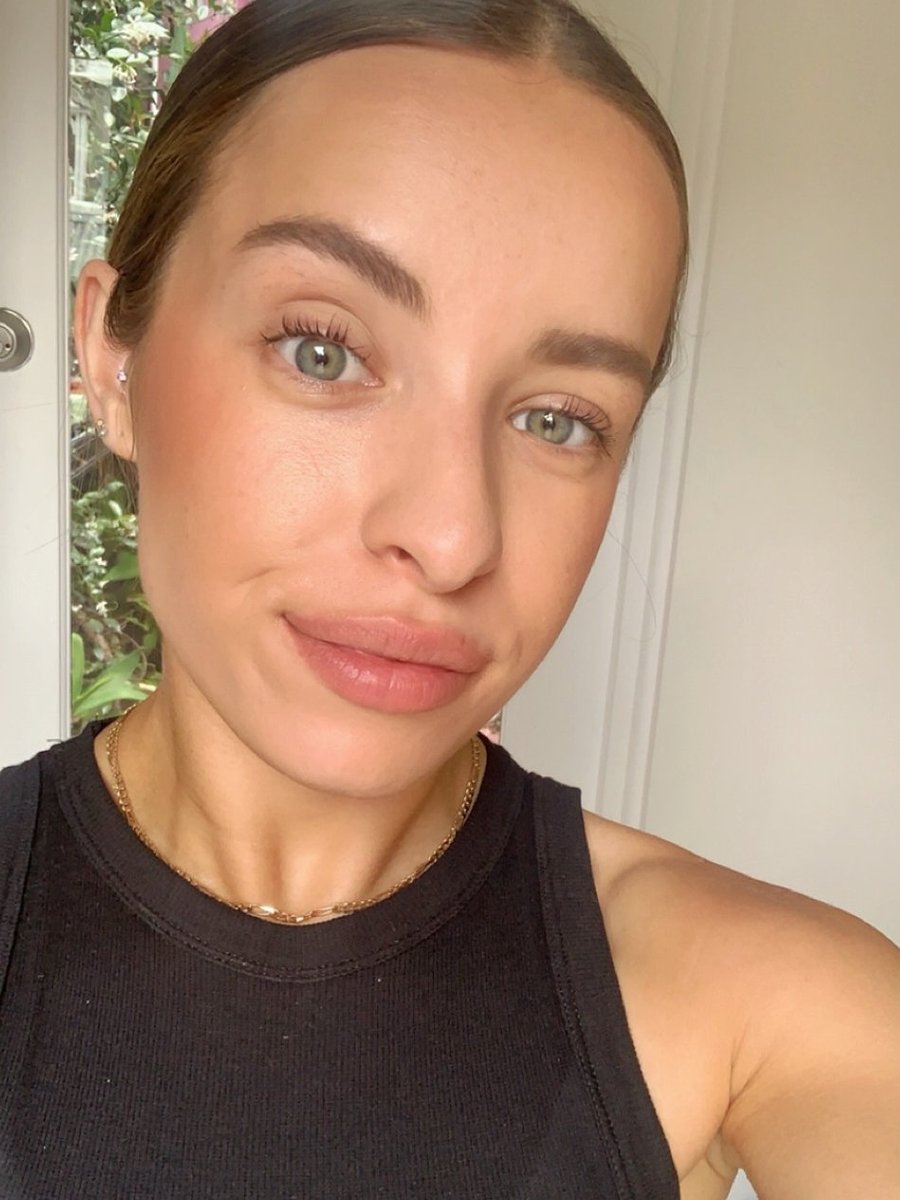
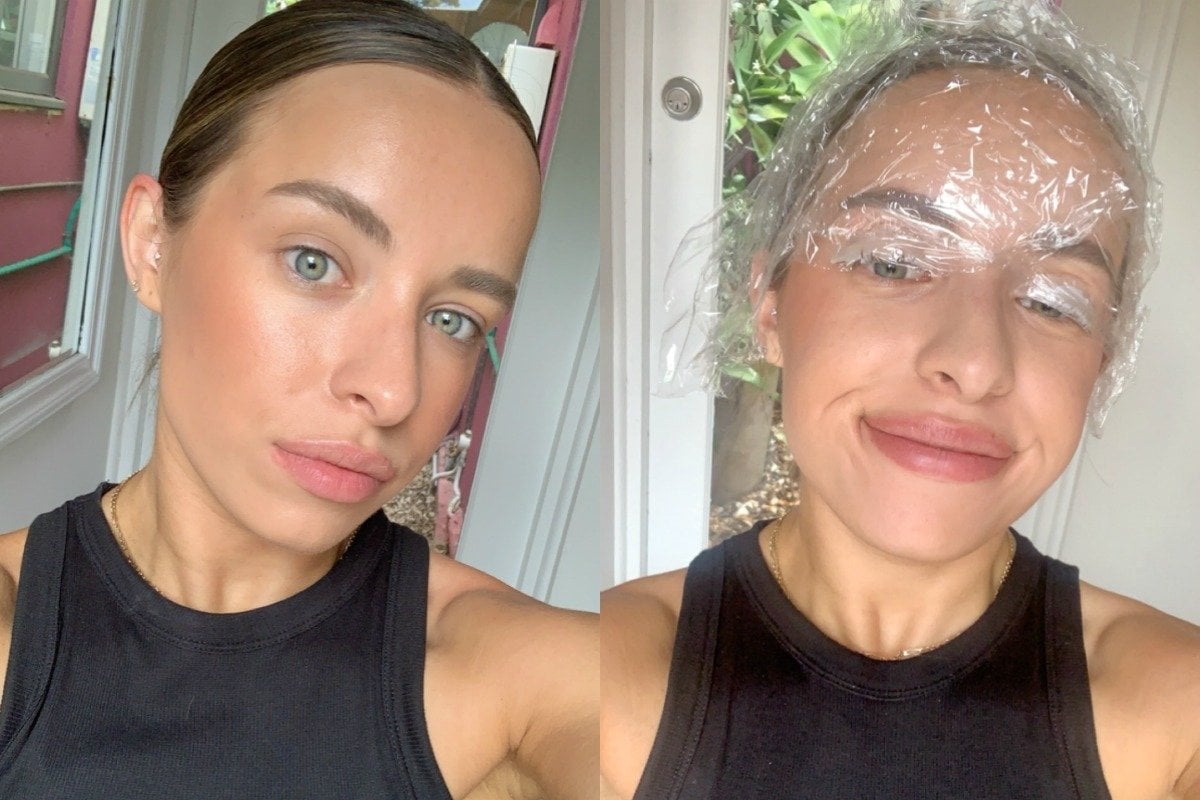
Here's the final result after round two.

Ta da! Image: Supplied.

ADVERTISEMENT

Honestly, I'm really impressed with this kit. I'm usually one to stuff up DIY treatments and would normally opt for a professional to do them, but I would absolutely do this again. 

It definitely needs some refining (not all lashes are curled) but I noticed a huge difference after the second go and with some practice, I reckon I could get it just right.

I know the kit isn't cheap, but since it comes with plenty of product and reusable lift pads, it's set to last a good few months - meaning all of summer!

Would you try a DIY lash lifting kit? Let us know in the comments.

Feature image: Supplied.