beauty

LEIGH CAMPBELL: Yep, I did my own balayage at home. Here's how it went.

Hairdresser folk, look away now.

I did the unthinkable. I DIY’d my own highlights. I KNOW, I KNOW, it’s a cardinal sin. A beauty no-no. 

But you know what? I've never really cared.

Watch: Hairdressers, translated. Post continues below.


Video via Mamamia

When it comes to my hair - particularly the colour - I've always been pretty rebellious with doing stuff to it myself.

I figure it will grow back, and it’s dead anyway so a bit of damage isn't the end of the world. 

Sure, I never want to fry it off - but I have quite smooth, slippery hair when it’s ‘too healthy’, so I find that highlights actually help add a bit of texture. Plus, I wanted slightly lighter ends to make my dark colour a little less harsh. 

Anyway, I’m about to talk you through what I did.  

In case you’re not aware, I am not a hair colourist. So if you’re going to try it at home, proceed with caution and at your own risk. And don’t tell your hairdresser it was me who encouraged you.  
ADVERTISEMENT

I use the Clairol Nice N Easy root touch up home hair colour to cover my greys every few weeks. 

My hair is currently a shade 5, which is known as ‘Medium Brown’, but I wanted to add some shade 6 highlights, so a lighter brown.

I’ve done my own balayage at home a couple of times before and have always used the L’Oreal Paris Highlight kit, but I couldn't find it at my local shops. So instead I grabbed the most suitable thing I could find, which was the Clairol Frost and Tip kit

It is important to note that this is designed for blondes who want to do their own streaks and not for brunettes, but as stated earlier, I’m a bit of a rebel.  

ADVERTISEMENT

Listen to Leigh on You Beauty, the twice-weekly podcast for your face. Post continues below.


The kit comes with a cap and pick so you can do proper streaks at home, however I discarded those as I was going for a more freehand look. 

I laid out an old towel on the basin and mixed together the provided bleach and activator. 

I then sectioned my hair so the bottom third was out and the top two thirds were piled on my head in a crab claw clip. 

Using a regular comb (one like your dad might have), I dipped it in the mixture and then combed it through small sections of my hair, starting a few centimetres from the root. 

I then let the next section of hair down and did the same, followed by the top section where I paid extra attention to the parts people would see when my hair is down, and the framing around my face.

The wait time on instructions (for blondes doing foils) was anywhere from 10 to 60 minutes. 

I kept a close eye on it and used my fingers to wipe away some of the solution to see how it was going. I decided to wash at the 15 minute mark because it is much, much easier to go again if it’s not light enough, but obviously impossible to repair if you’ve gone too far.

After shampooing, I then used the Davroe Chroma Colour Treatment. This was in lieu of a traditional toner which would be used at the hairdresser to neutralise any orange/warm tones. 

ADVERTISEMENT

It deposits a tiny bit of cool brown colour and I left it on for a very generous 20 minutes. 

That’s it!

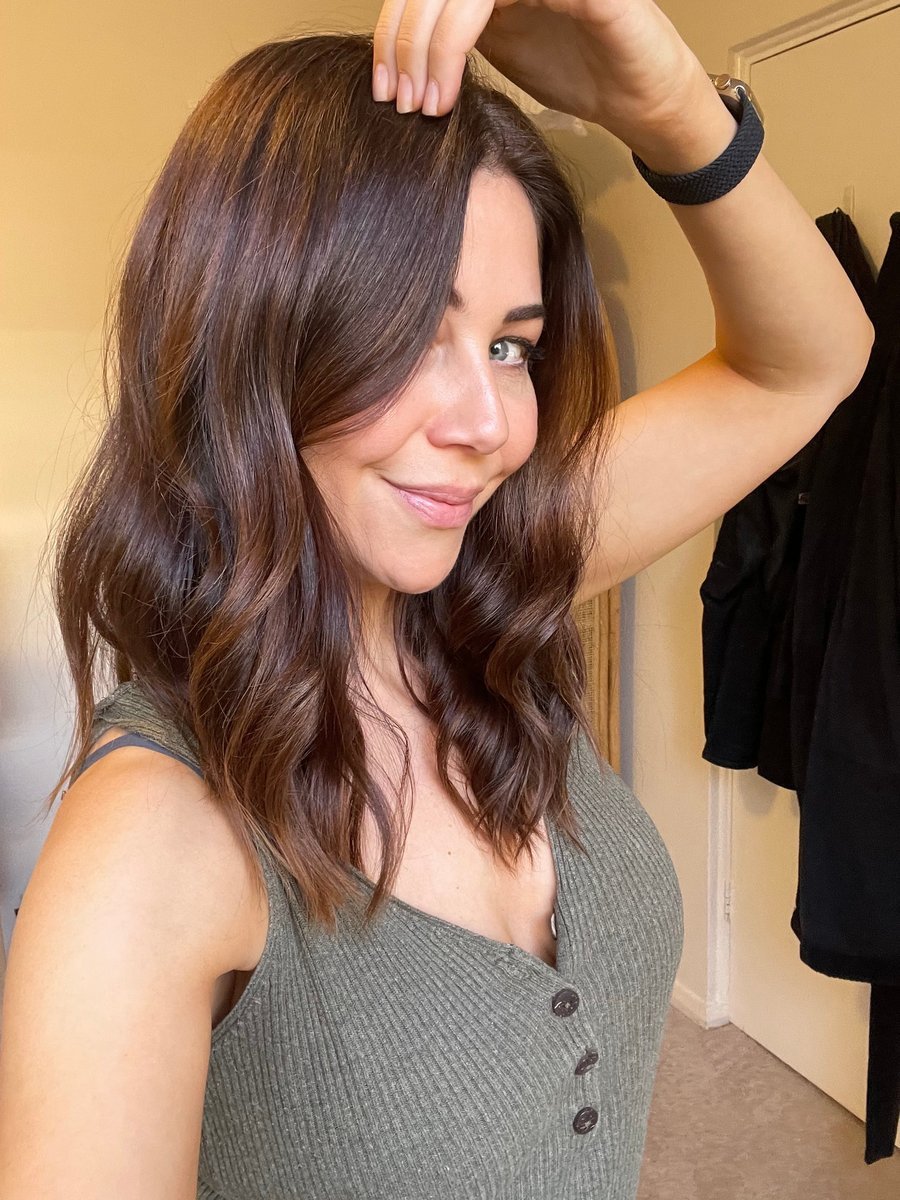
Voila! Image: Supplied.

The whole thing took less than an hour and the result is very subtle. Like I said, it's always best to underdo the blonde and overdo the toner. You can always go again later, which is what I think I’ll do in a few weeks time. 

ADVERTISEMENT

The toner also rinses out each time you wash so the lighter parts will start to show through more anyway. 

Inspired? Terrified? Think I’m crazy? I’d love to know. 

Leave a comment below, and if you do give it a go at home, make sure to share the results with me!

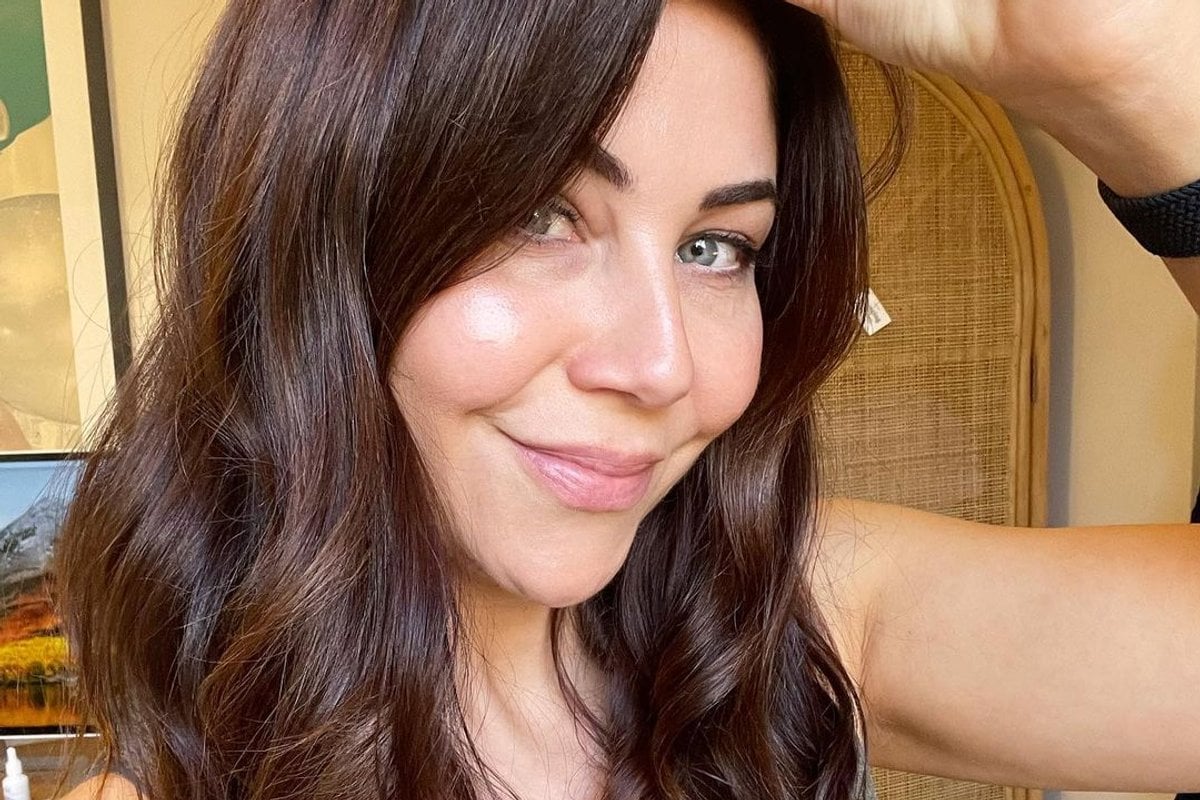
Feature Image: Instagram / @leighacampbell.

Want a cheeky $50? Tell us what you think
MMSurvey