beauty

'I'm a beauty writer in my 50s. Here's my 5-minute glowy makeup look.'

If you know me at all, you know that I like to spend a bit of time each day on my makeup looks and enjoy getting creative. But there are some days I just want to let my skin shine through and go for a super minimal look. 

When the weekend comes around, I just want my makeup routine to be as fast as it can, and still look as fresh as possible. 

If this sounds like you, or you're a little time-poor on the daily, don’t worry my friend – I have your back!

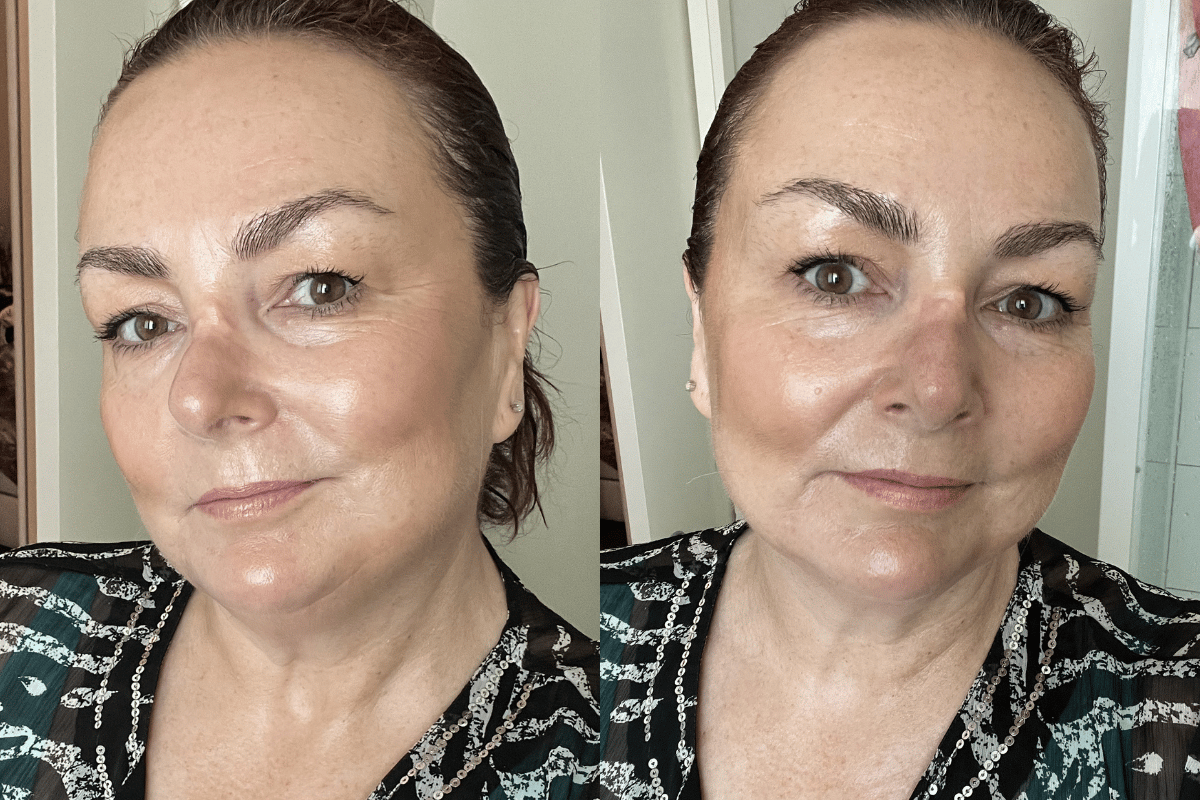
I'm here to share a quick routine that'll have you looking ready to go with an extra glow, in five minutes flat.

While you're here, watch how the horoscopes do self-care. Story continues after video.


Video via Mamamia

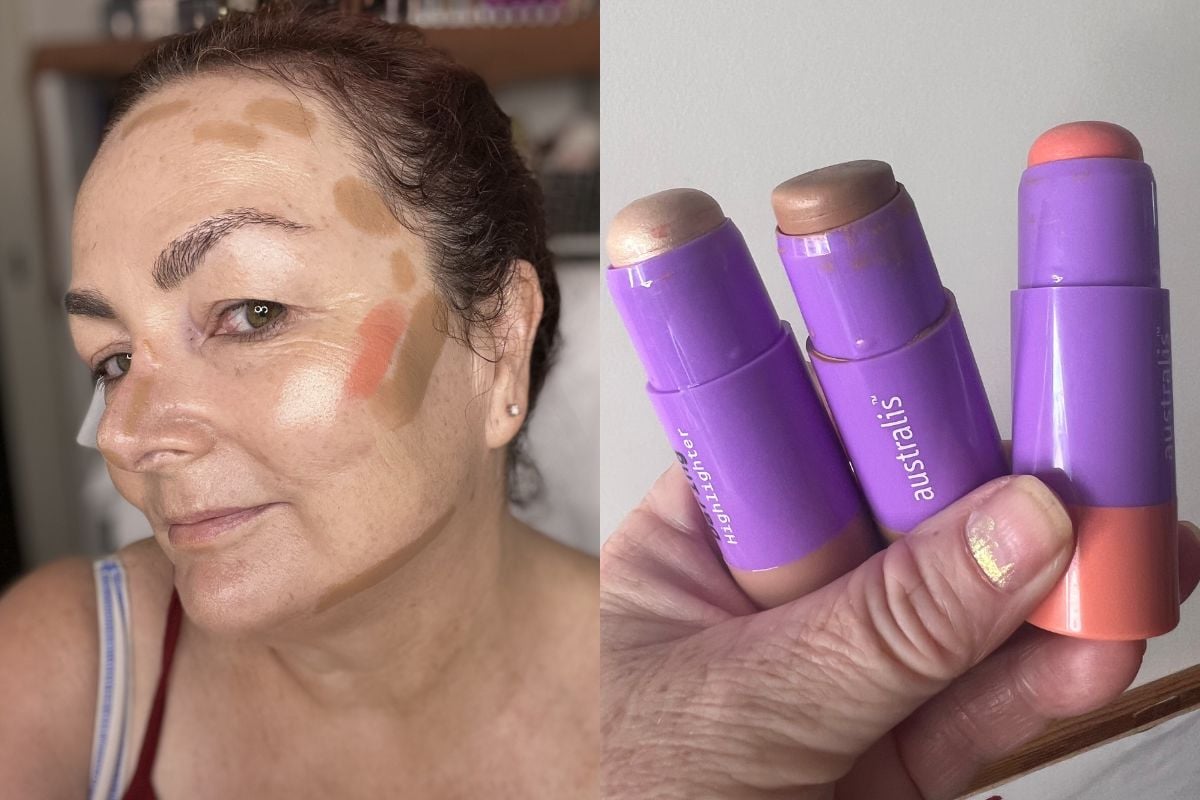
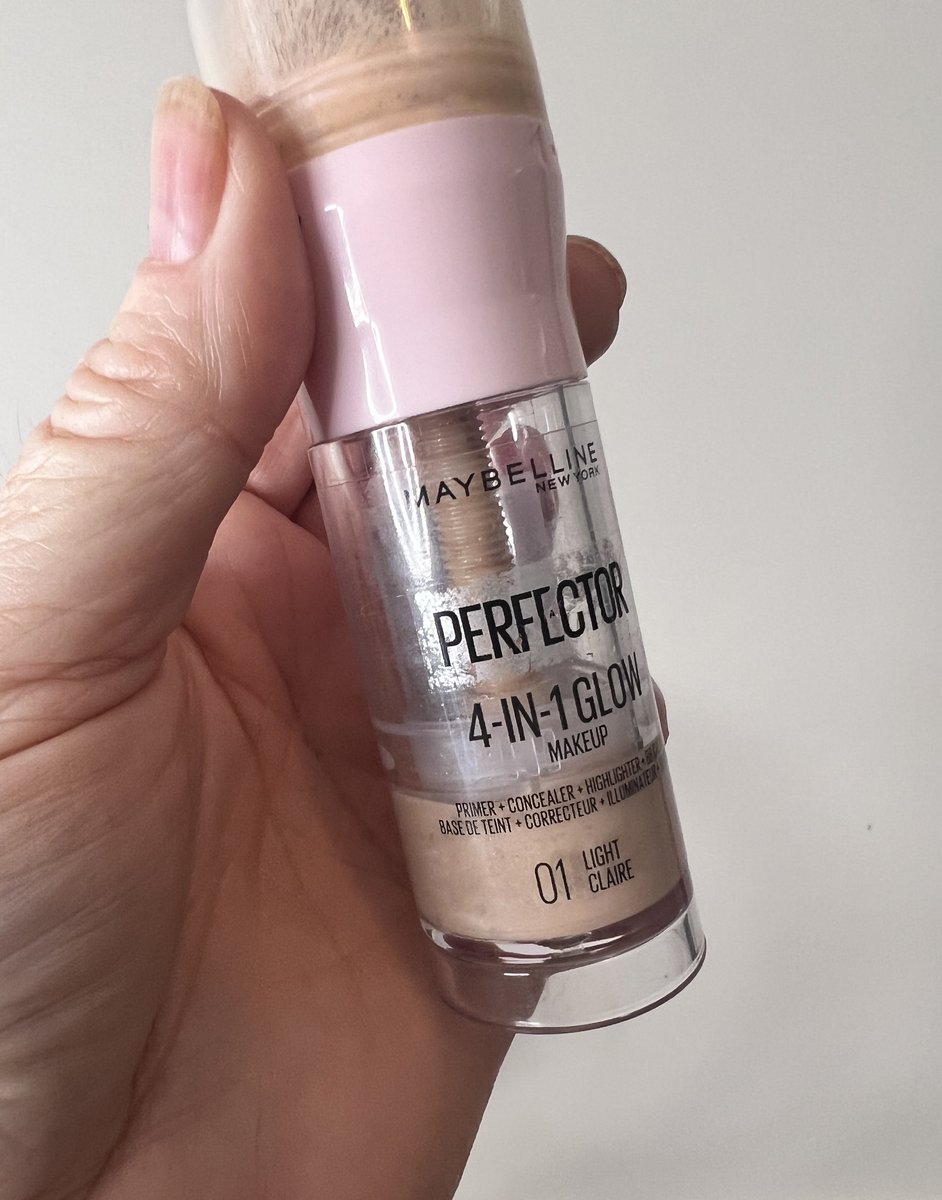
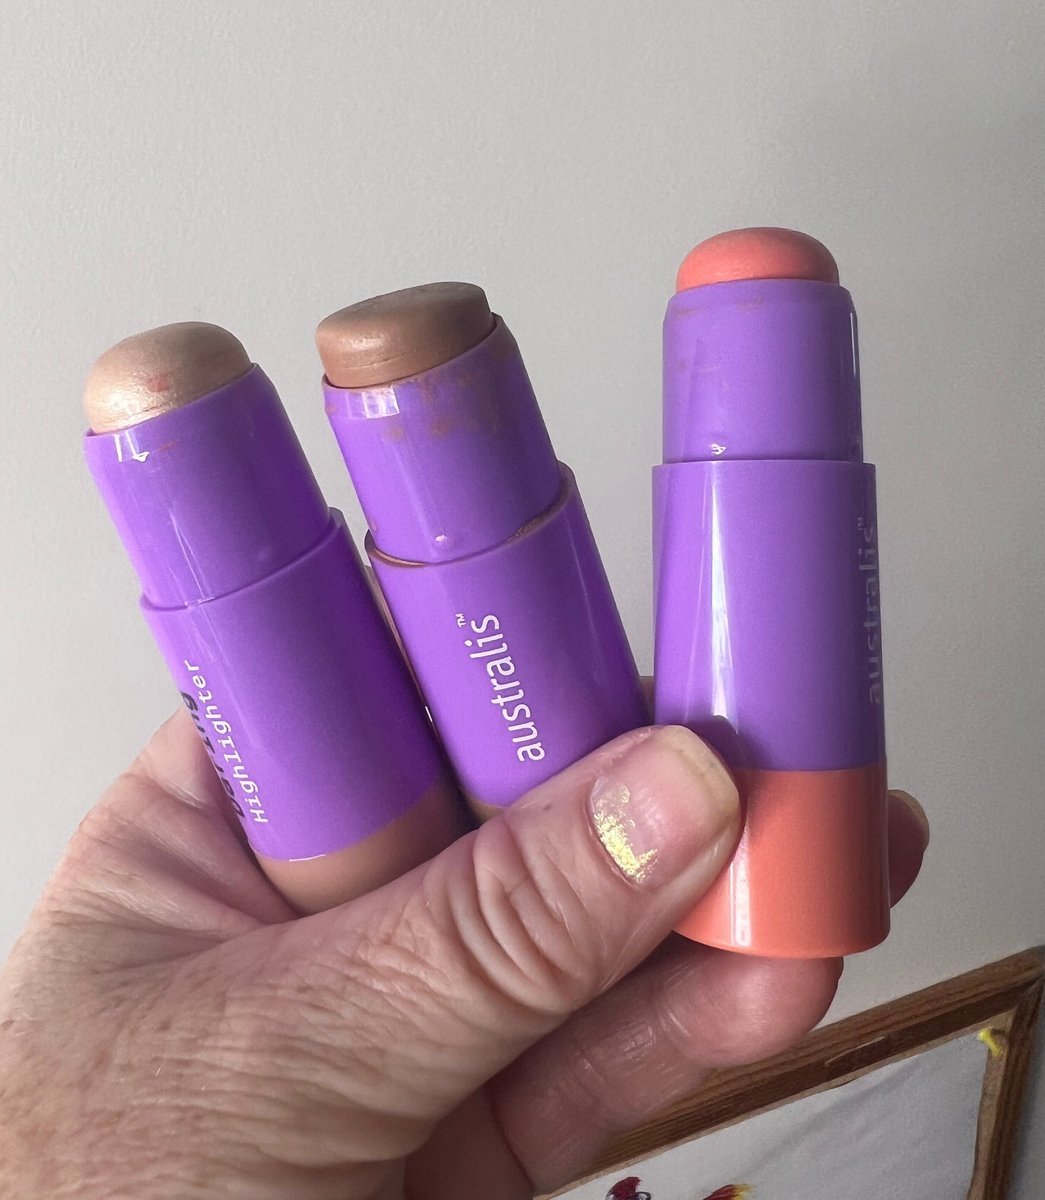
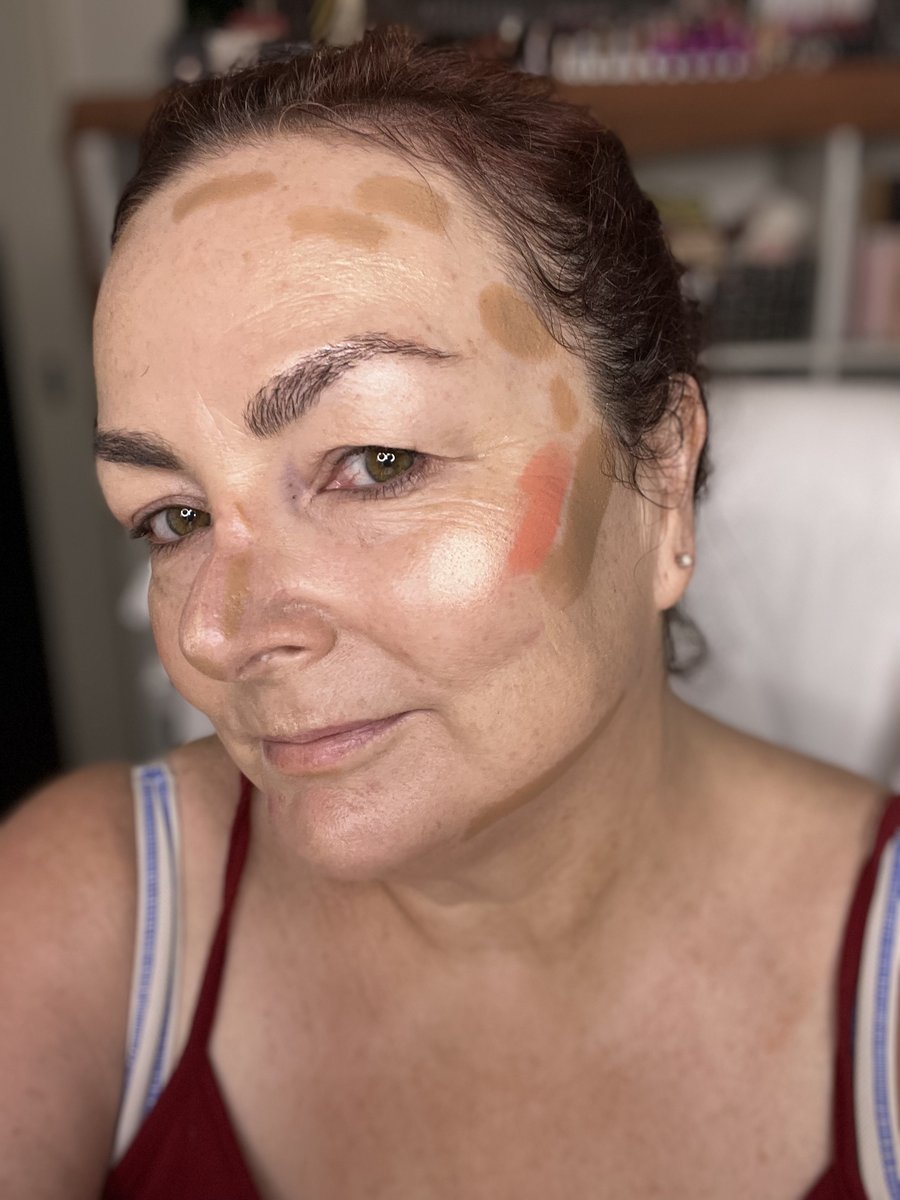
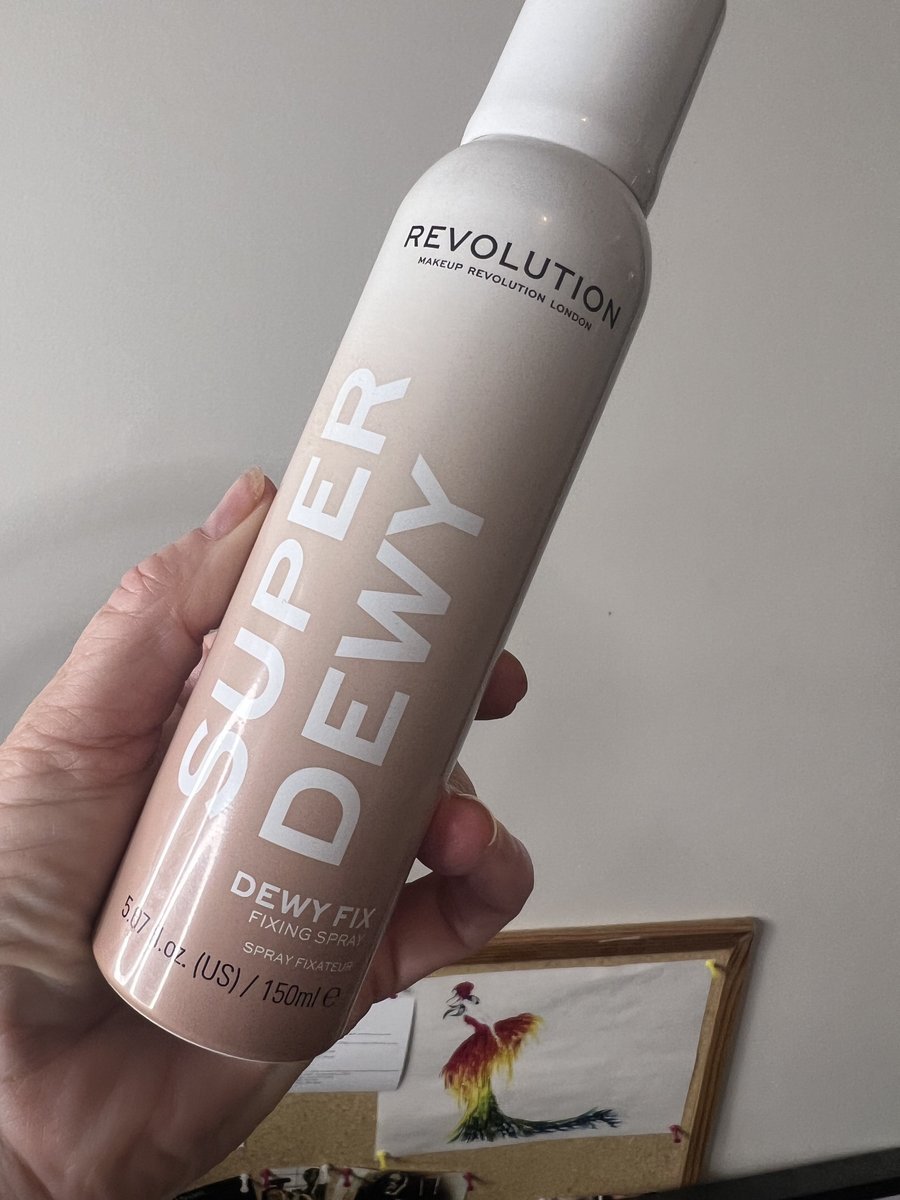
Okay! First up, you'll want to throw on some sunscreen. That goes without saying. I like to get one that is slightly tinted to boost the glow factor.

I'm not counting this in my prep time, as I class that as part of my skincare - and you want to give it a few minutes to sink in. It’s only a little time cheat, so you have to give me that.

Now, here’s where the clock starts. 

ADVERTISEMENT

To begin, I like some form of illuminating glowy base. And there are plenty on the market - from Charlotte Tilbury Hollywood Flawless Filter ($70) on the high end to Maybelline’s Instant Perfector 4-in-1 Glow ($34.99), which is a savey option and also happens to be my product of choice today.

Apply your chosen base all over your face and buff in with a fat, dense brush. These types of products have a lot of stretch in them, given they just even out your complexion without a lot of coverage. 

It means you don’t have to be too precious about the application. This will leave you with a “your skin but better” healthy glow.

Image: Supplied

ADVERTISEMENT

Last year I discovered the Australis Dewy + Daring cream bronzer, blush and highlighter sticks – and let me tell you, they have been in high rotation ever since. In fact, I have all four of the Australis stick blush shades in my collection now.

There are other cream stick products like these on the market, but these babies are super creamy and the most blendable ones I have ever used. 

The best part? At $15.95 each, they're super affordable too.

Image: Supplied

ADVERTISEMENT

When it comes to application, I just draw the products on all at once. I line the stick bronzer around the top of my head, cheeks, nose contour and under my jawline. 

The blush is placed slightly above the bronzer and then the highlighter just on the front high point on my cheeks, a little down the centre of my nose and above the arch of my brow. 

Now, my advice is to go in sparingly the first time you use them, as the pigment may surprise you.

Here's what I look like with the bronzer, blush and highlighter on my face, pre-blend:

Image: Supplied

ADVERTISEMENT

Now, grab that brush you used for the base product and start stamping along the placement. Because it’s so creamy, it will all blend out super fast. It really is that easy. 

Just don’t move your brush down your face from where you have placed your bronzer, or you'll risk looking like a muddy mess. Just stamp up and back towards your hairline.

I like to use the Australis stick bronzer and blush on my eyes as well. I literally grab a couple of soft blending eye brushes and rub them on the makeup sticks. 

Simply buff the bronzer into your crease area and diffuse it upwards and out. 

You can then place the blush on your mobile upper eyelid – you can even use your fingers for this. Just dab and pat.

Another tip to level up your eye look? Run the brush with the bronzer on it just along your lower lash line. I swear it will be the fastest eyeshadow look you will ever do. Well, it’s certainly the fastest look I ever do! 

ADVERTISEMENT

Then, just rub your finger on the blush and swipe a wash of colour across your lips. It feels like a balm and gives the perfect hint of colour. 

Finish by spaying your setting mist of choice. I used Makeup Revolution Super Dewy, which may have been too dewy for longevity with these products – so next time I'll just use a normal setting spray!

Image: Supplied

ADVERTISEMENT

For the last step, apply a swipe of mascara – and you are good to go!

I used the Too Faced Better than Sex Waterproof Mascara – only because there was a chance we were heading to the beach later.

Image: Supplied

Here's the final look:

Image: Supplied.

ADVERTISEMENT

Honestly, it'll probably take you longer to read this article than it will to do your makeup like this!

Want to hear more from Teresa McNamara? Check out her articles here, or follow her on Instagram.

Feature Image: Supplied

Want to get the most out of your day? Take our survey now to go in the running to win a $50 gift voucher!