It all started with MTV — or more specifically, Laguna Beach.
The staple makeup product for the teens (I swear they were 25) was eyeliner. And I thought it looked awesome.
In my adolescent mind, eyeliner made you look older. It made you look cool. It made you look like you knew what you were doing when it came to the whole ‘being a woman’ thing.
Thus, my obsession with eyeliner began.
Now, in the interests of full disclosure, it took me quite a few years to get good at it, and even now I have some days where I go, "GURL, that does NOT look good."
But most days, applying my eyeliner takes about five minutes and is relatively stress-free. Here's how I do it.
1. Don't buy the super liquid-ey crap.
It all begins with the product.
I must have trialled more than 50 different brands over the years, and my one pearl of wisdom would be to go for something with a clay or gel-like consistency. Don't choose something too wet. It takes too long to dry and you will inevitably smudge it. You also don't want an eyeliner with a flimsy tip. It should be firm. If you can't draw a straight line on the back of your hand when testing it out in the shop, it's not worth your money.
My favourite options include the Mud Gel Eyeliner, which retails for $8 and the Tarte Clay Pot Waterproof Liner retails for $21.
2. Practice on your hand
To get the right angle and the right consistency, experiment on your hand. You'll get a feel for how to apply it. (Post continues after gallery.)
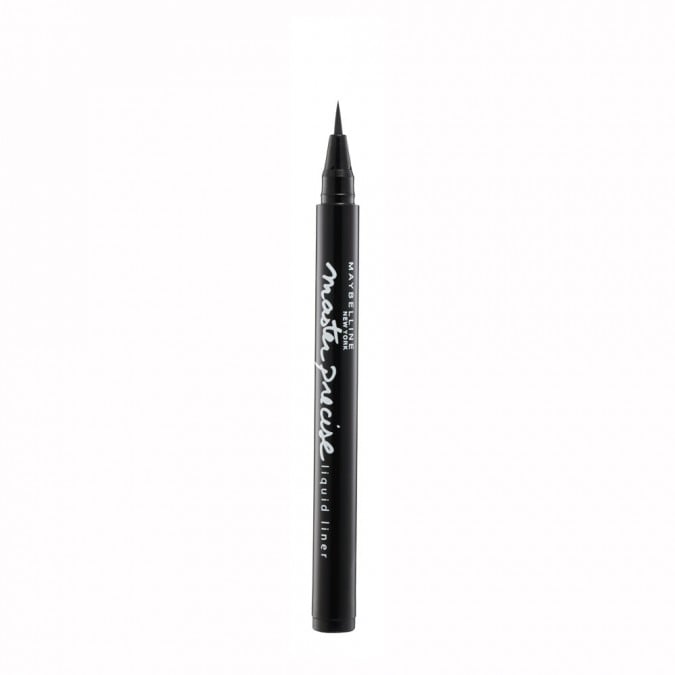
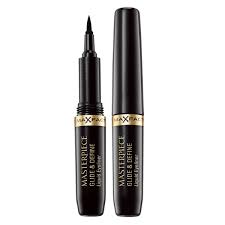
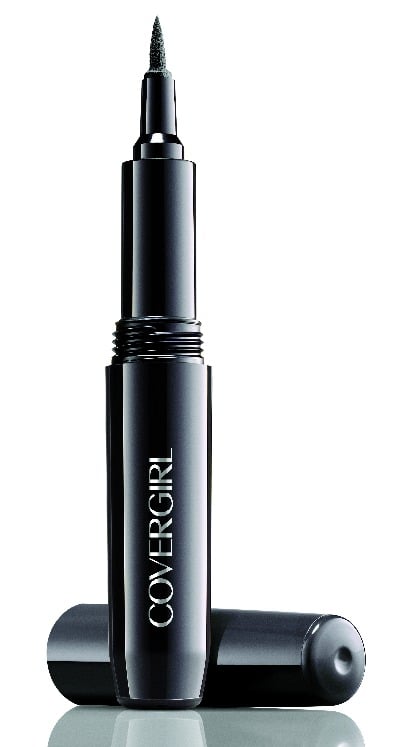
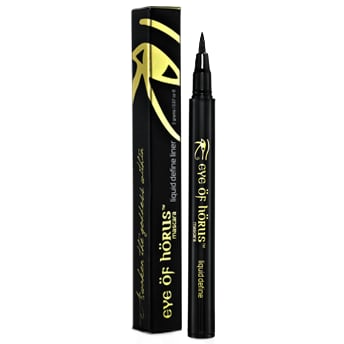
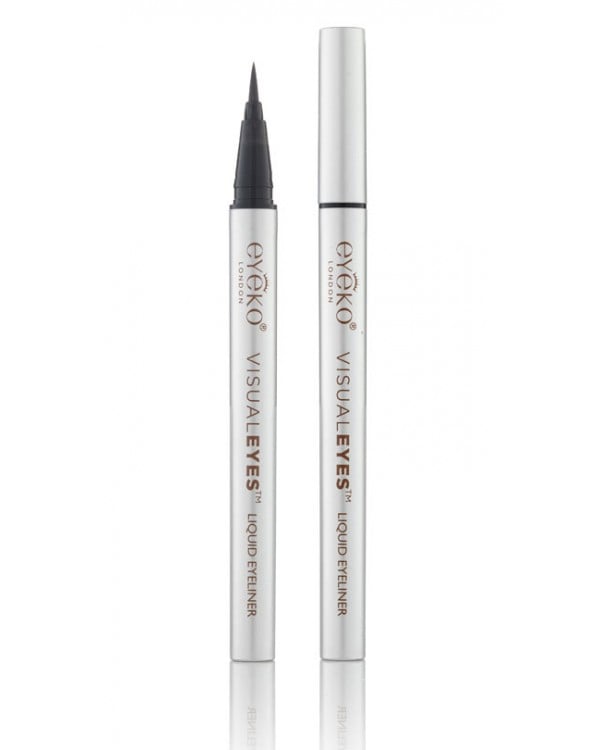
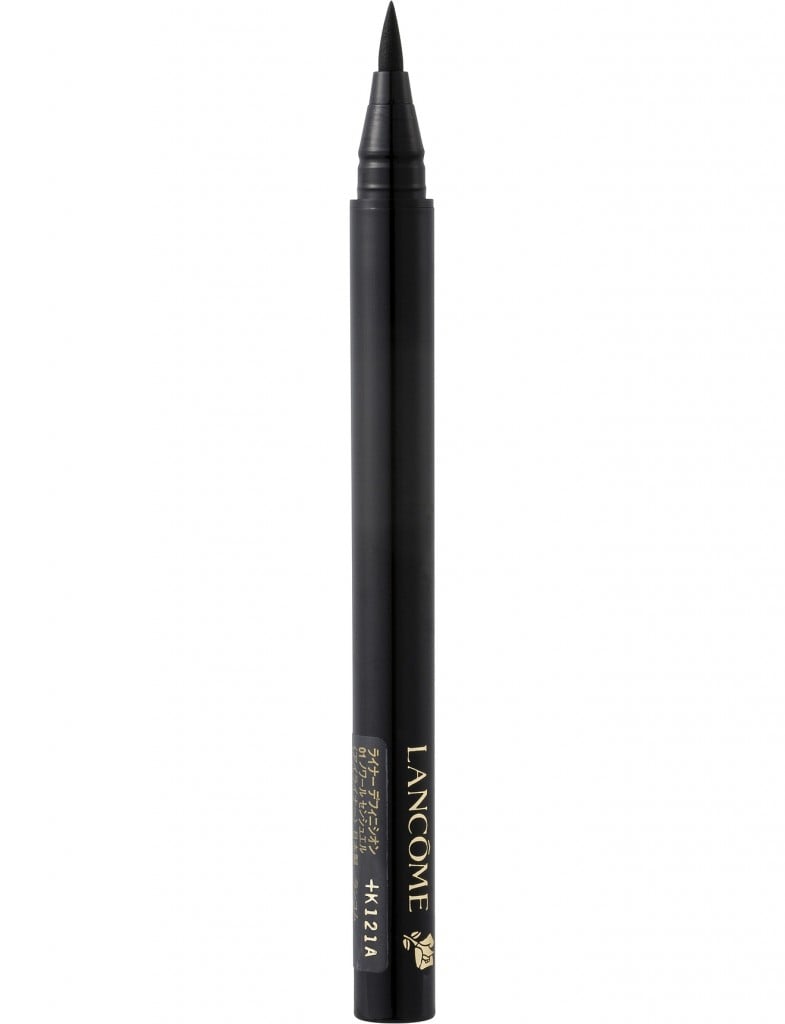
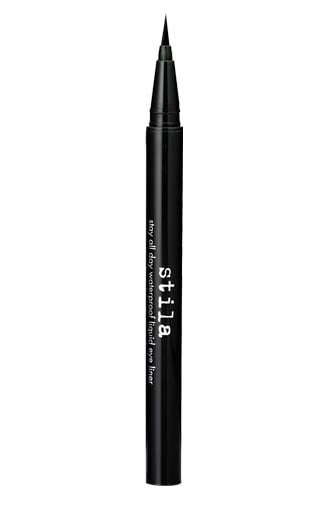
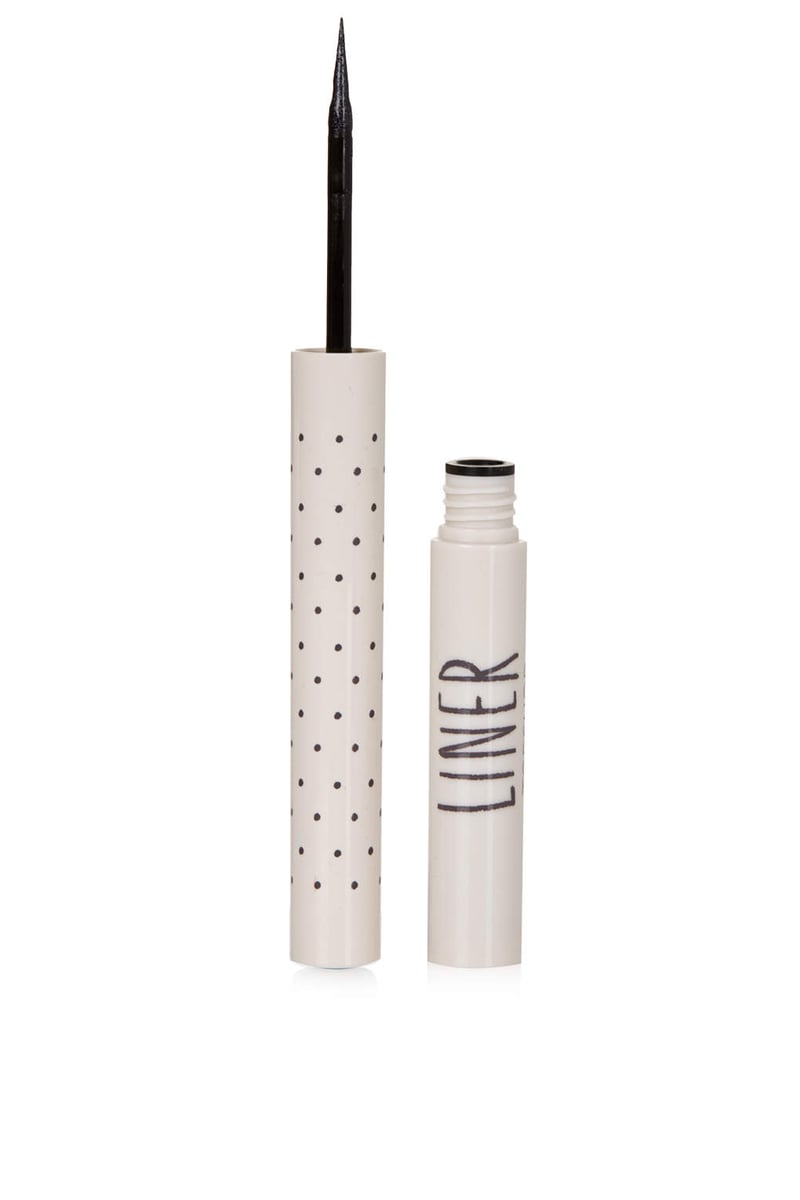
8 foolproof liquid eyeliners
3. Pull your eyelid (gently... obviously) to the side.
I shall demonstrate as it's hard to describe, but don't you dare make this into a meme. I AM TRYING TO BE HELPFUL.
So pull the eyelid in an outwards direction, to ensure you get the straightest line possible.
4. Start on the outside, and work your way in.
Start from the outside to ensure it's precise.
For some eyes, particularly almond shaped, winged liner is the most flattering. Here are some additional tips on how to apply winged liner. Because my eyes are rounder, a flick doesn't suit me at all. So I extend beyond the eye a tiny little bit and then come to a blunt end point.
So for whatever look you're going for, start on the outside, and come in about one third. Then start on the inside. Make sure the inside is slightly less thick than the outside, to follow the natural shape of the eye.
When you've done both ends, join them up in the middle.
LISTEN: Zoe Foster Blake offers some invaluable makeup tips for busy women. Post continues below.
5. Go light to begin with.
I always go a little bit lighter on my first line to allow for any mistakes. Then I go over the line once more to darken it and make it bolder.
An additional tip (which is disputed by our beauty writer, but I'm going with it anyway) is this: make sure you do your eyeliner BEFORE your mascara. That way it smudges into your lash line and doesn't interfere with the curl of your lashes.
Of course, eyeliner looks different on everyone and we all have our own tips and tricks. But after 10 years of experimenting, these five steps have helped me tremendously.
What are your failsafe application tips? Let us know in the comments section below.
Top Comments
I wear winged liner every day. I'm a big fan of the Maybelline Master Precise. My tip which I learned at an awesome vintage makeup class was to not pull your eyelid. Rather you start at the highest point of the curve of your eyelid (in the middle) and draw a straight line toward the outer edge of your eye. Then you draw a straight line from the end of that first line to the corner of your eye and colour in. How far you draw out affect how big the wing is. You finish by simply following your lash line from the inner corner of your eye to where you started at the middle.
The effect is great. It totally looks curved without that "droopy" look that winged eyeliner can have and the technique seems to work on all eye shapes. I can do mine perfectly matched in about 1 minute per eye these days.
I like these tips, thanks! The pic is helpful.
I do my eyeliner before mascara as it's too hard to get into those lashes once they are crunchy and hard!