home

Turn your old jars into chic vases: 4 eco-friendly DIY projects you can do in an afternoon.

If social media is anything to go by, upcycling and DIY-ing is the hobby of the year. Maybe because we’re all a little more eco-concious, maybe because with lockdowns we’ve had more time on our hands, or maybe because we have more resources and communities to share inspiration and tips. 

But before diving into restoring a coffee table or making a recycled tile wall, there are some super easy projects you can do to dip your toe into eco-friendly DIY, that will deliver impressive and social media worthy results.

Watch: 7 eco-friendly habits that aren't so green... Post continues after video.


Video via Mamamia.

Plant propagation.

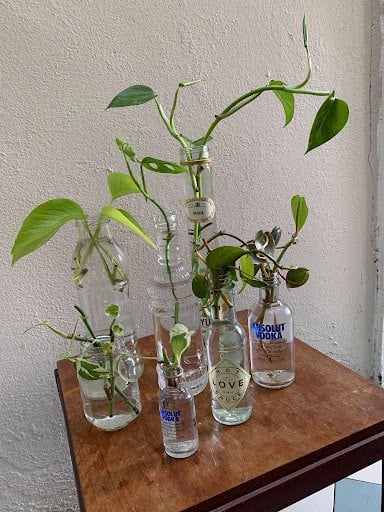
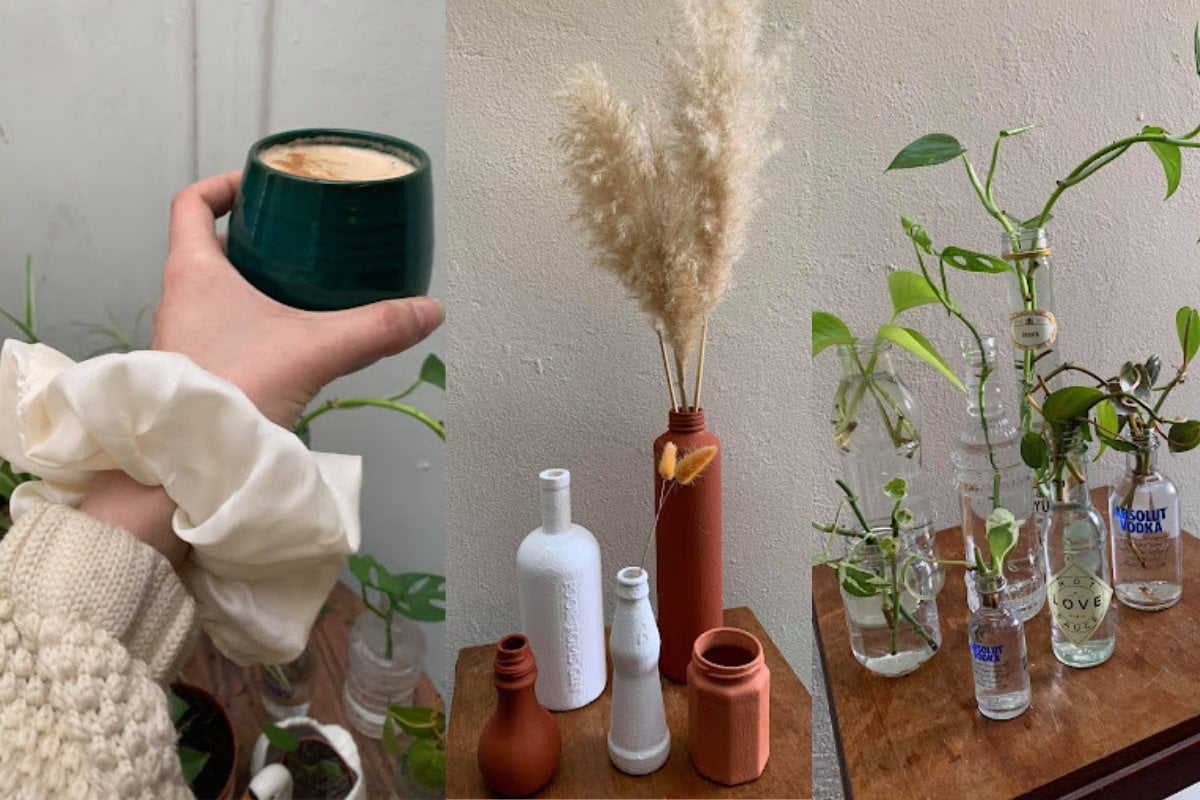
Let’s start with the easiest project. You might have seen ‘plant propagation’ on social media, especially TikTok, with things like propagation walls filling up our feeds. It’s the act of taking cuttings from plants, popping them in water until they grow roots, then replanting them if need be. But no need to get carried away with walls or macrame hangers just yet; propagation can start with a bunch of jars or bottles from around your house, and some cutting from your own plants. Anyone can do it, and it’s basically free!

You’ll need:

  • A bunch of different sized jars or containers (glass works best so you can see water levels)
  • Cuttings from a few different types of plants, e.g. Pothos (hanging vines), Inch Plant

Firstly, you’ll need to make some cuttings from your plants. Cuttings are basically lopping off leaves or stems from different plants. 

Throughout this whole process, you’ll want to have trusty Google on hand to check what parts of your plants to cut, how long to keep them in water and when to replant. Once you have your cuttings, fill your jars with water and pop your cuttings inside. The rule is generally to change the water once a week but again, check on the internet to be sure. 

ADVERTISEMENT

Put them in a sunny area like a windowsill, and that’s it! 

You’ll have a house full of greenery in no time.

Image: Emmeline Peterson. 

Upcycling old containers.

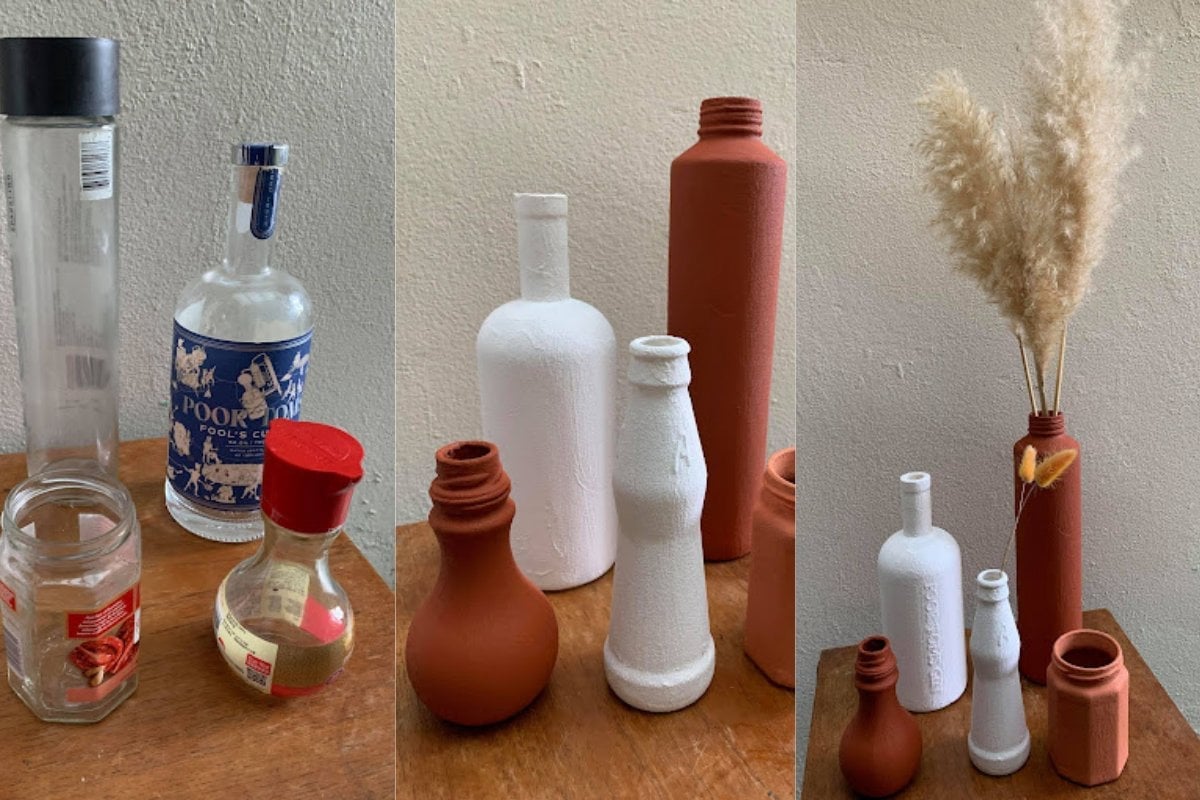
You might have seen this trend on socials too - it’s a seriously easy hack to make any vessel look like a designer terracotta piece. I used a bunch of glass bottles that were going to be recycled anyway, but you can use anything; old mugs, cups, or vases you want to give a new life. Keep in mind though that these items won’t be food safe.

ADVERTISEMENT

You’ll need:

  • Various vessels to upcycle, cleaned thoroughly with labels removed (if you’re painting something plastic or with a finish you’ll need to use some sandpaper to rough up the surface)
  • Acrylic paint - I used a burnt ochre to look like terracotta and a white paint, but you can use any colours
  • Baking soda
  • Paintbrushes

Mix your paint with the baking soda at about a 1:1 ratio, until the paint starts to get puffy. Simply paint the vessels, leaving them to dry completely between each coat (depending on what you’re painting, you’ll probably need about three coats). And that’s it! 

Just be careful with your new pieces, as they can chip, but if they do, just touch them up with a bit more paint and baking soda.

Image: Emmeline Peterson. 

ADVERTISEMENT

Making a scrunchie out of scrap fabric.

Why does every household have a stash of unused fabric scraps? They’re not something we want to throw away but it’s super hard to find uses for them. Scrunchies are great for this, as you don’t need much material. Alternatively, if you don’t have any suitable fabric, most charity shops have offcuts going cheap.

You’ll need:

  • Elastic (about 30cm in length)

  • Thread the same colour as the fabric
  • Preferably a sewing machine, but you could sew this by hand if you have the patience
  • A small sewing needle
  • Fabric (at least 15cm by 40cm)

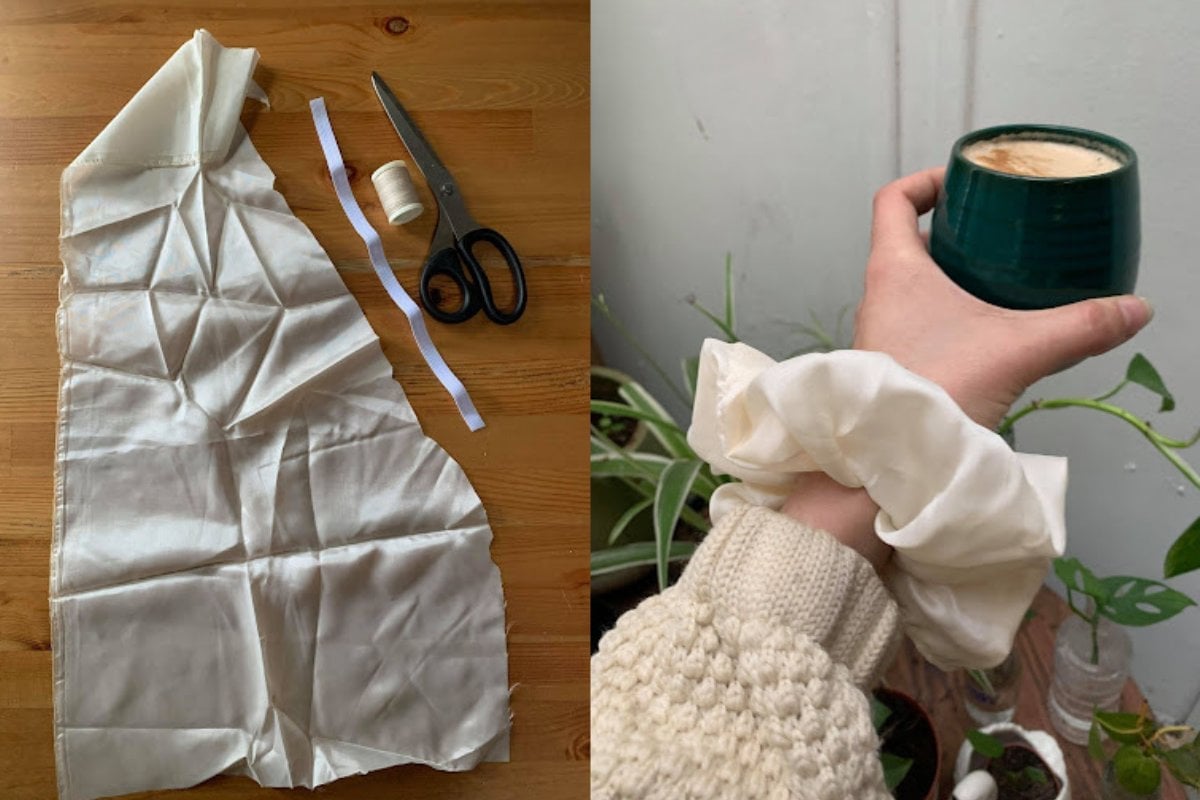
Start by cutting a rectangle shape out of the fabric. You’ll need a minimum amount for this to work, but how much you use is up to you. The more fabric you use, the more ‘full’ and 'poofy' the scrunchie will look. 

From there, sew a hem on the two shorter sides, by folding over a small length of fabric and sewing. Then, fold the fabric lengthways with the wrong side facing out, and sew the longest edge together so you’re left with a fabric tube.

Turn the tube right side out, then thread your elastic through and tie it with a knot. As this will be inside the scrunchie it doesn’t have to be neat. Finally, use the needle to sew the hemmed edges together to complete the scrunchie (that’s why we hemmed them, so they look neater!)

Image: Emmeline Peterson.

ADVERTISEMENT

Scrunchies make the best gifts and can be made out of any fabric. I made mine with some leftover silk offcuts and it looks gorgeous.

Want more sustainable style? On this episode of You Beauty, we discuss the best environmentally friendly buys. Post continues after audio.


Homemade beeswax wraps.

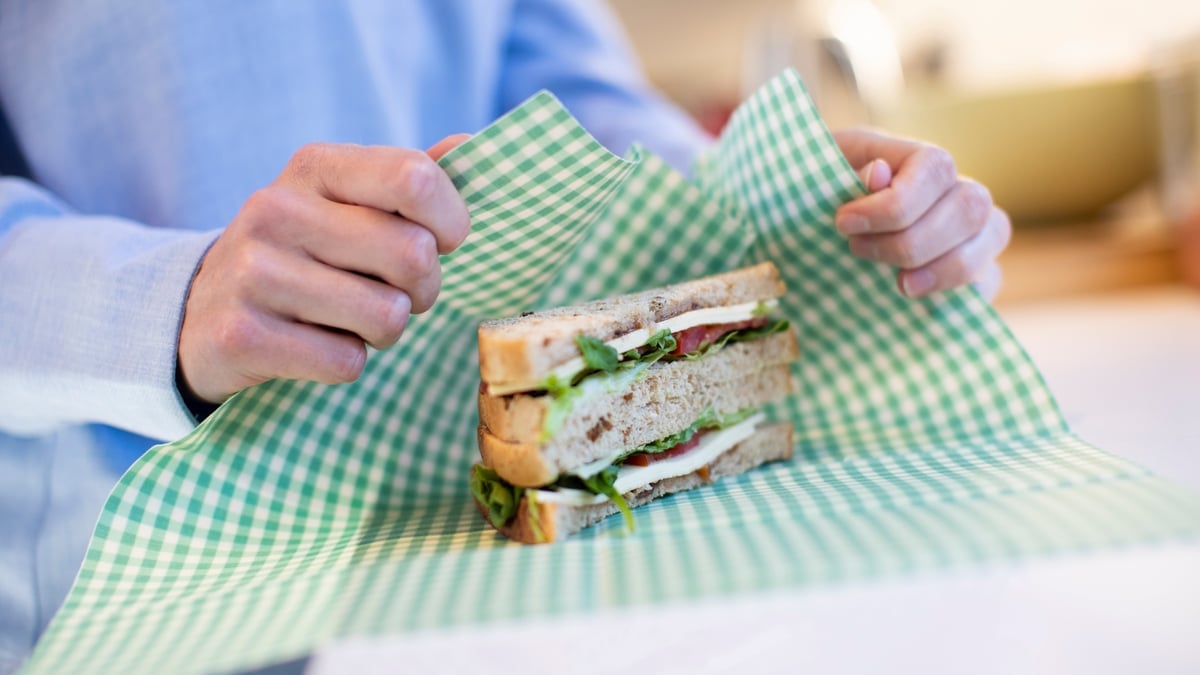
Beeswax wraps are a brilliant way to reduce waste - use them in the place of plastic wrap to keep things fresh. They also make great gifts, as you can use cute fabric; even better if it’s leftover material.

You’ll need:

  • Beeswax, which you can buy at candle shops or online
  • An oven
  • Cotton fabric - the fabric you choose for this is important, as not everything will work. For example, polyester resists the beeswax too much. I’d recommend doing a test patch.

First, cut out the fabric in various sized squares, whatever suits your needs. Turn on the oven to a very low temperature - try 50 degrees. 

Lay the fabric out on a piece of baking paper then arrange the beeswax on top, evenly spaced. If you’ve bought the beeswax in large lumps, maybe grate it first so it will melt evenly. 

Pop the fabric in the oven for a few minutes, checking frequently (you don’t want to accidentally burn the fabric, but it shouldn’t happen with the oven on low). 

Once the beeswax has melted and ‘soaked’ into the fabric, take it out of the oven. You might need to move the wax around with a brush or spatula so it’s evenly distributed, but be aware that you won’t be able to get the wax off easily after! Leave to set.

ADVERTISEMENT

Everyone can make their own beeswax wraps at home. Image: Getty.

All of these projects can be done in an afternoon, potentially with things you already have around your house. You’ll feel creative, make some beautiful things, and save some items from the trash.

Feature image: Supplied/Emmeline Peterson.