beauty

The simple two-step trick that'll make your eyebrows look fuller.


Until earlier this week, I thought I had eyebrow styling figured out.

But after a short trip to Myer, it became apparent that when it comes to brow gels, I’d been doing it all wrong.

A product that adds a hint of coverage for those with sparse spots, holds everything in place and keeps things looking suspiciously natural, tinted brow gel is officially the new makeup bag superhero for anyone who doesn’t want to look overdone.

The thing is, if you’re new to the brow game they can be a little confusing. And if used incorrectly, they’re seriously underwhelming.

So how do you apply said gel correctly, you ask?

Simple.

The trick is to tease in and tame out.

Let me break this down for you a little more.

Step 1: Tease in.
 

ADVERTISEMENT

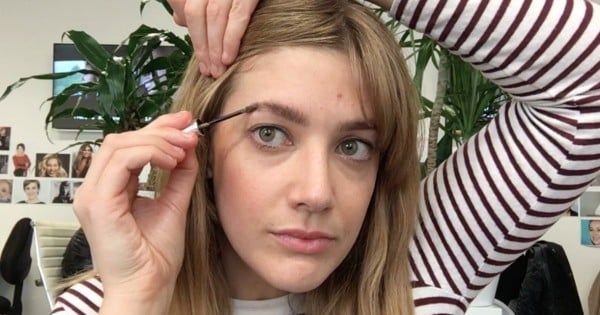
Brows are teased in and ready to be tamed. Source: provided. 

Normally when applying any kind of brow product, the aim of the game is to go with the direction of hair. But the opposite of this is true with brow gels. Starting at the end of your brow and brushing in towards the centre ensures all hairs receive a healthy covering of the tint and a fuller effect is created.

Your brows will look temporarily ridiculous, but that's where tame out comes in.

Step 2: Tame out.

brow gel tutorial
ADVERTISEMENT

Teased, tamed and ready to mingle. Source: provided. 

Depending on how much coverage you're after you may want to tease in once, twice or even three times. But once you're done you can start taming out, which simply means going with the direction of the hair to restyle it back into its desired shape.

And just like that, voila! Your brows will be filled, held in place and looking downright fabulous for the rest of the day.

I used Benefit's Gimme Brow, $39, in the tutorial above, but any tinted brow gel of your choice should work perfectly for this quick trick.

What's your brow styling trick?