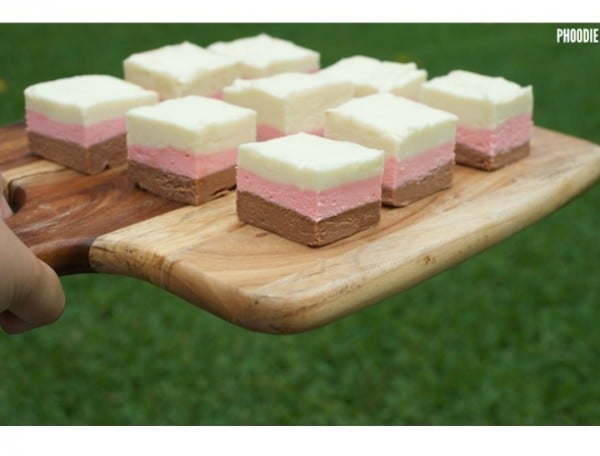
This recipe is super easy and cannot be stuffed up and the result is INCREDIBLE!
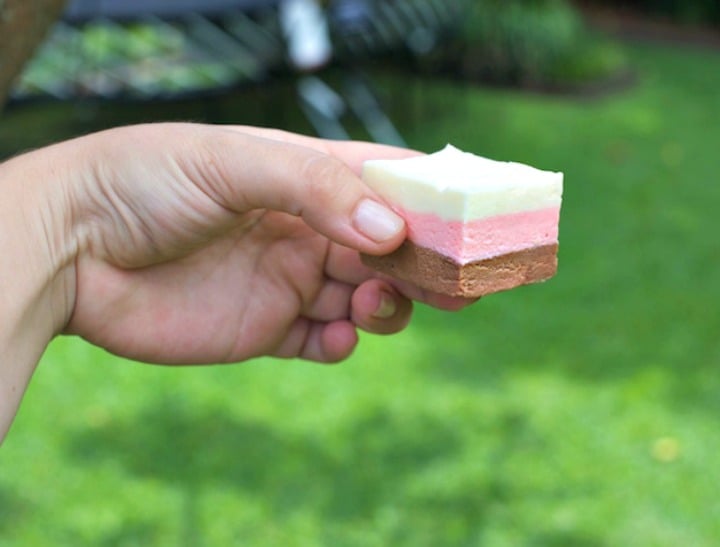
Perfet texture and beautiful to look at – it makes a gorgeous gift too!
The original recipe comes from the incredible iambaker.com – I have made some tiny changes and converted quantities for all you Aussies!
Ingredients:
Chocolate layer:
- 115g cream cheese, softened
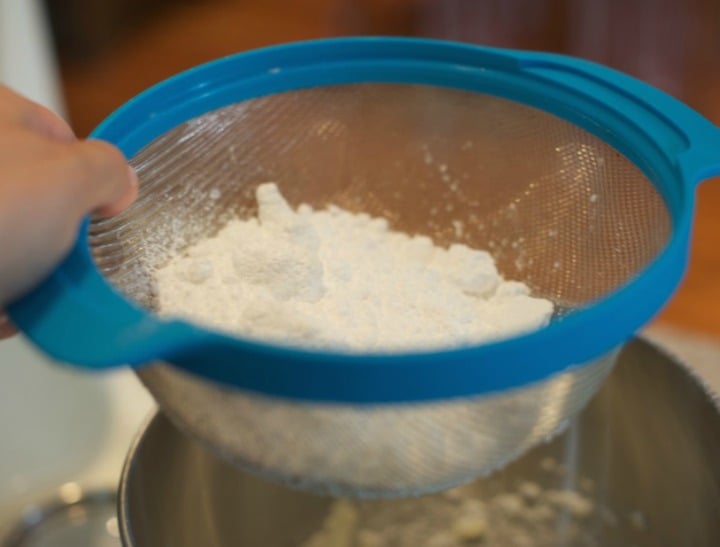
- 1 1/2 cups icing sugar
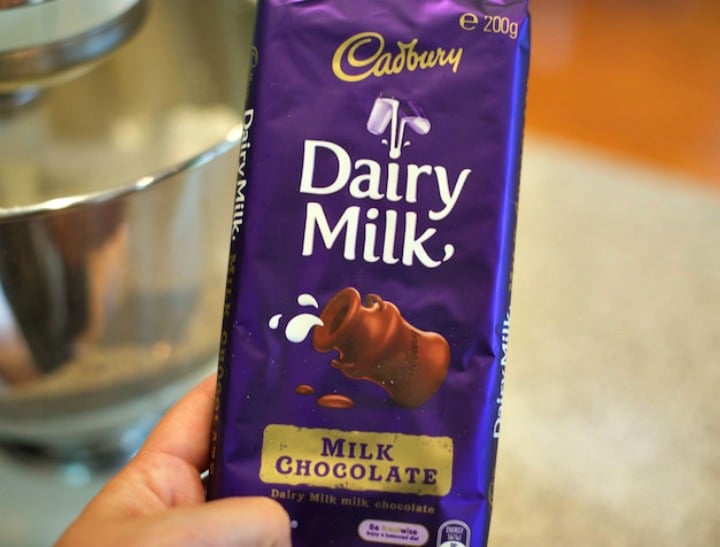
- 225g milk chocolate, melted and cooled
Strawberry layer:
- 115g cream cheese, softened
- 1 1/2 cups icing sugar
- 225g white baking chocolate, melted and cooled
- 1 tablespoon Strawberry or Raspberry Extract
- 1-2 drops red gel food coloring (go slowly as you can always add but can’t take out!)
Vanilla layer:
- 115g cream cheese, softened
- 1 1/2 cups icing sugar
- 225g white baking chocolate, melted and cooled
Method:
Chocolate layer:
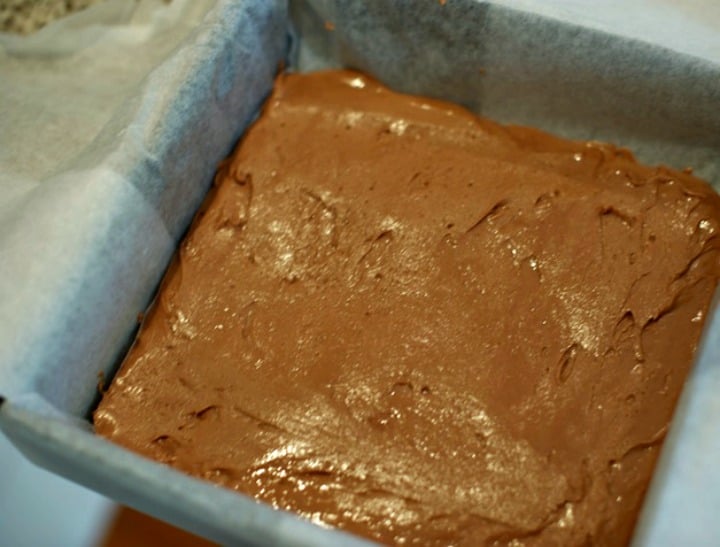
- Line a 23cm x 23cm baking pan with baking paper and set aside.
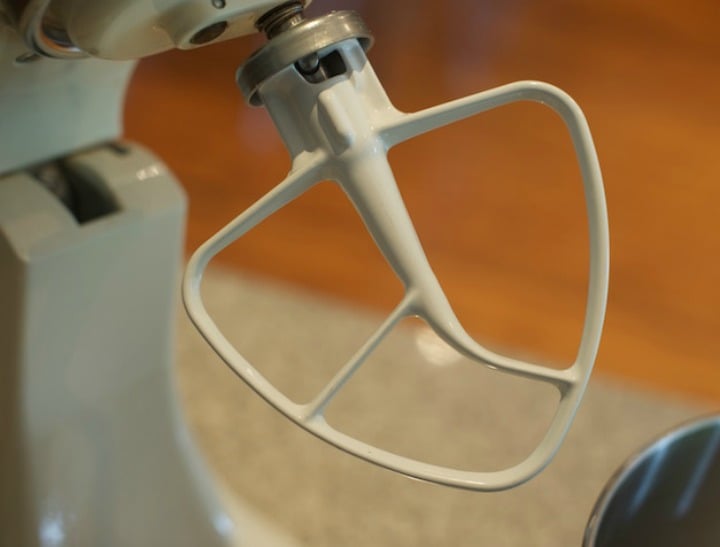
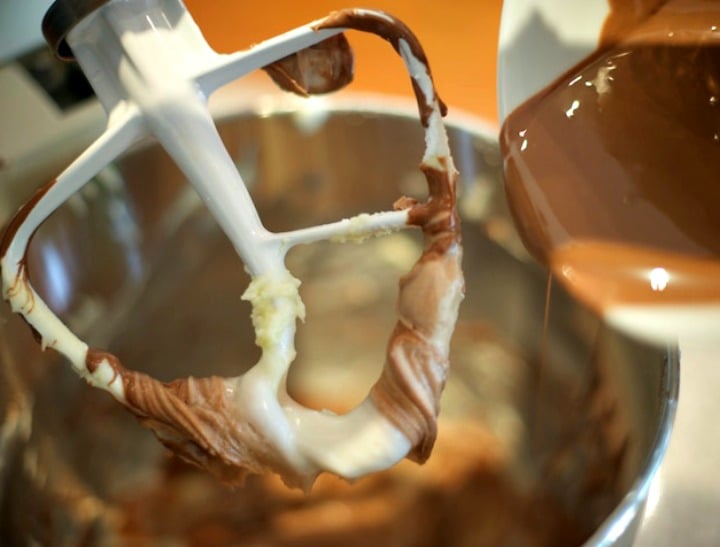
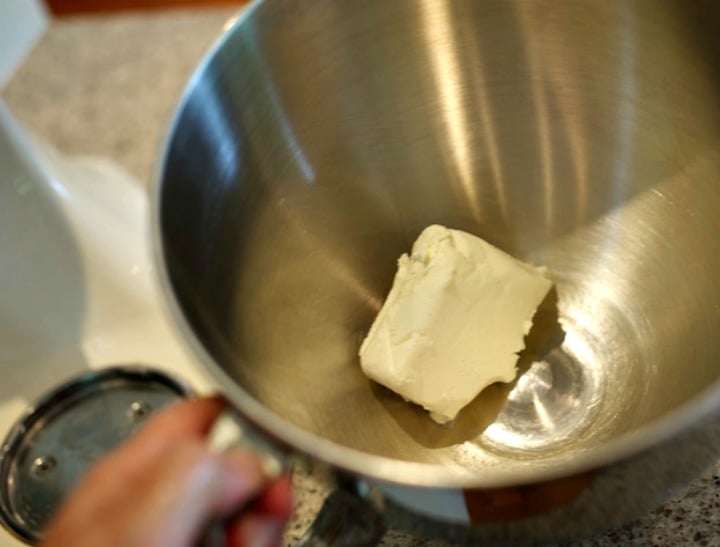
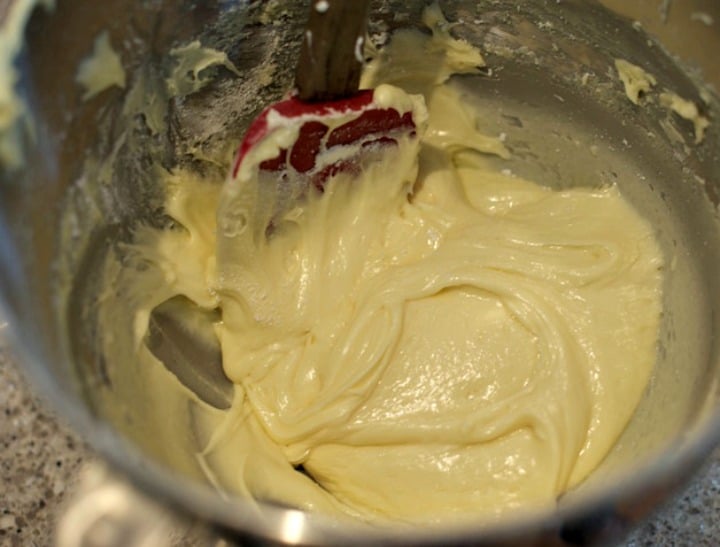
- In n electric mixer with paddle attachment, beat cream cheese until fluffy.
- Gradually beat in icing sugar and then add in the melted milk chocolate.
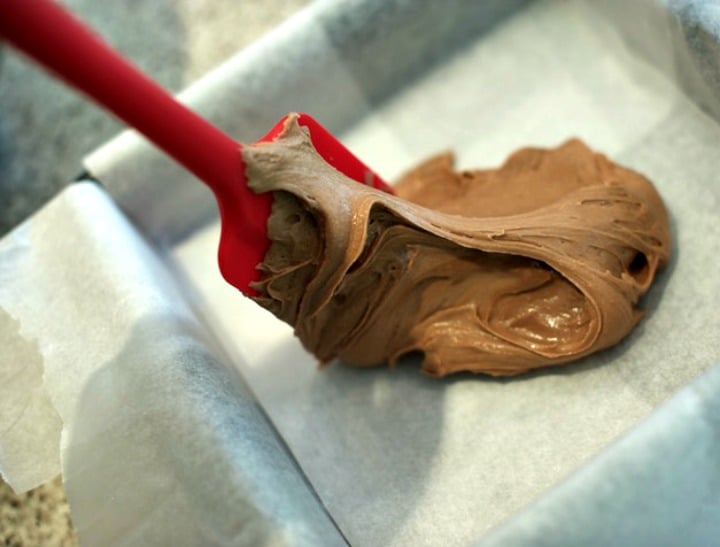
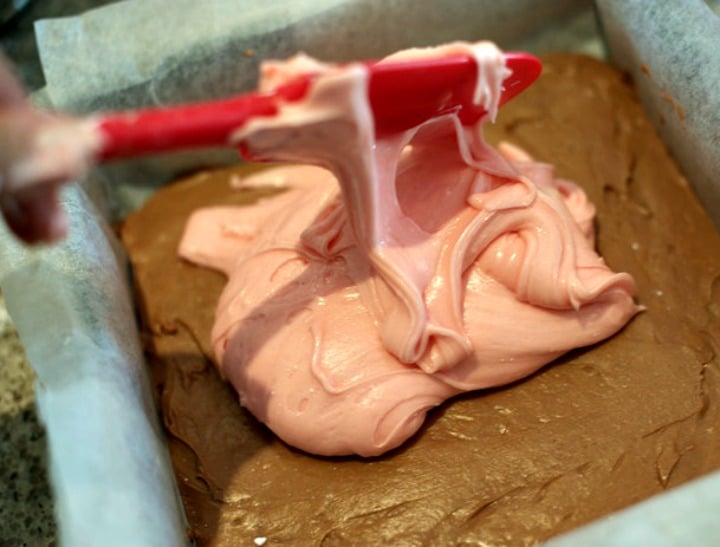
- Spread into prepared pan. (I pressed the layer down as flat as I could.) Refrigerate for 10 minutes.
Strawberry layer:
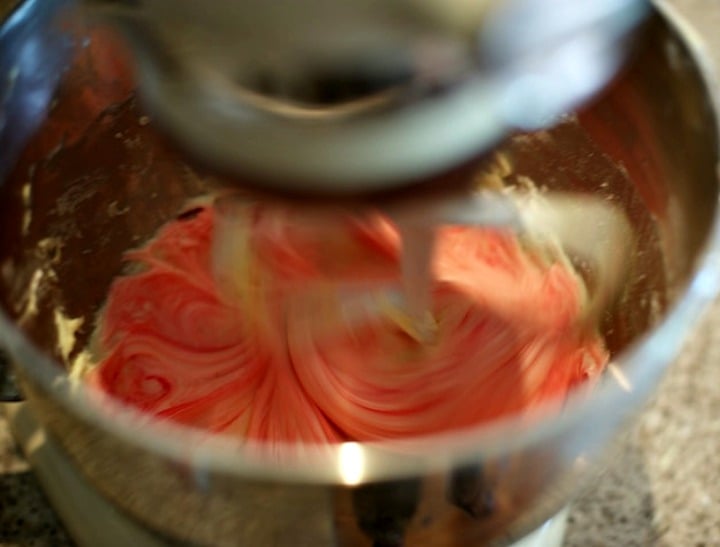
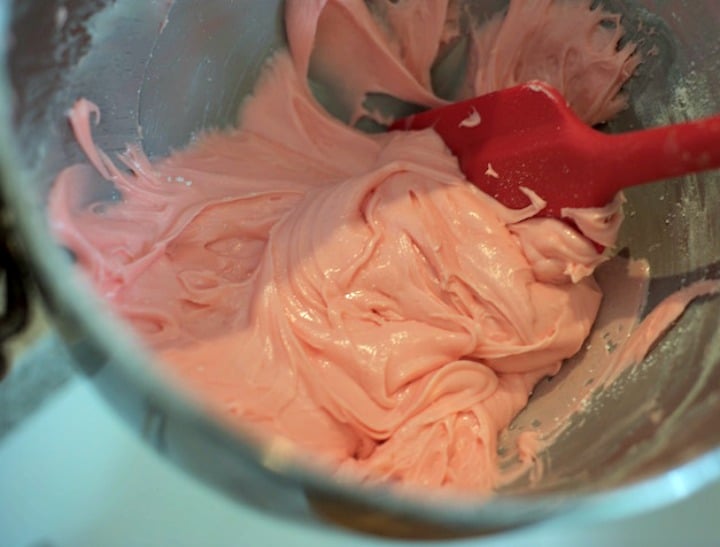
- In an electric mixer, beat cream cheese until fluffy.
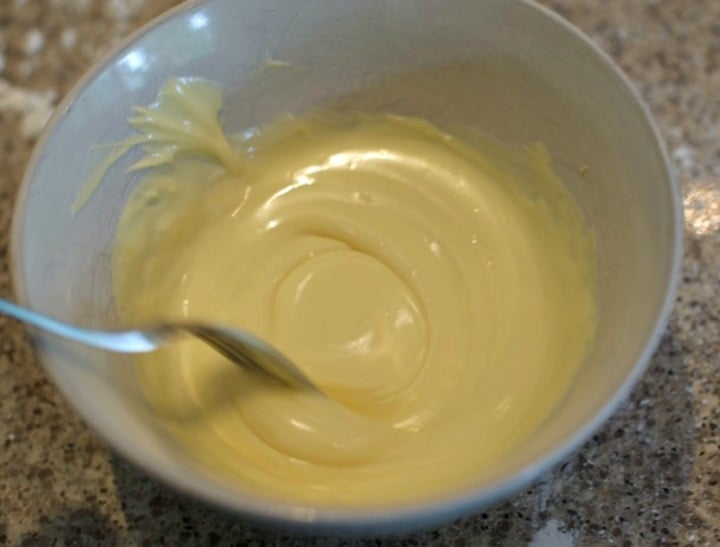
- Gradually beat in the icing sugar.
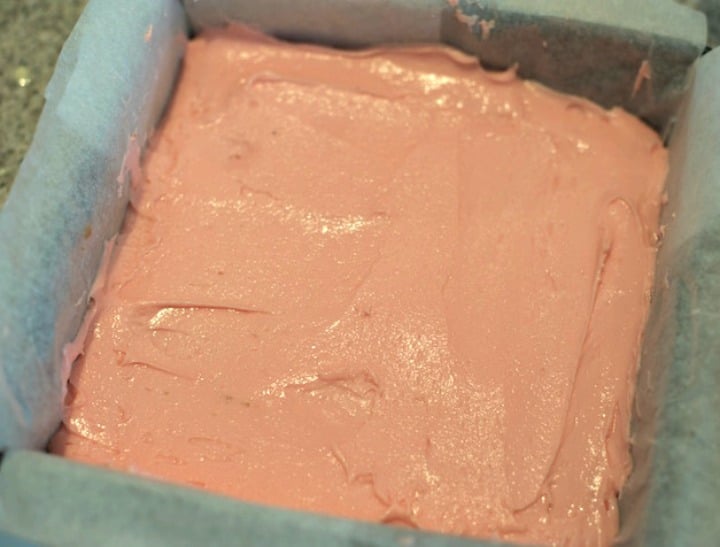
- Beat in melted white chocolate and extract. Tint with food colouring, one drop at a time. Spread over top. Place in fridge for 10 mins.
Vanilla layer:
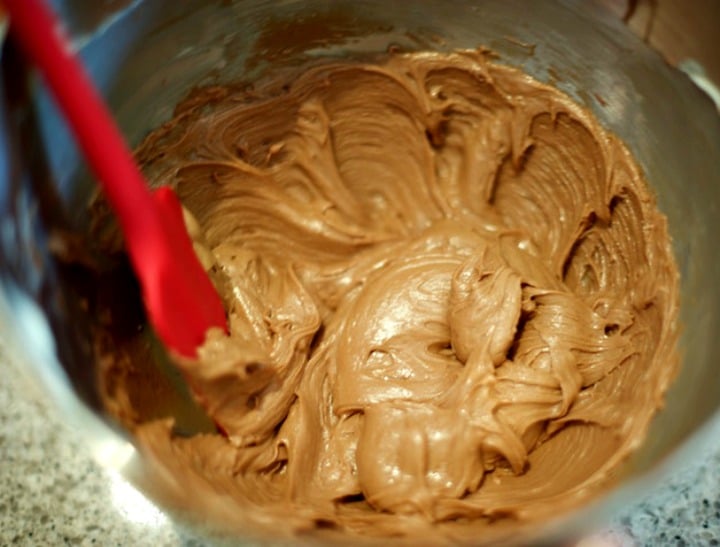
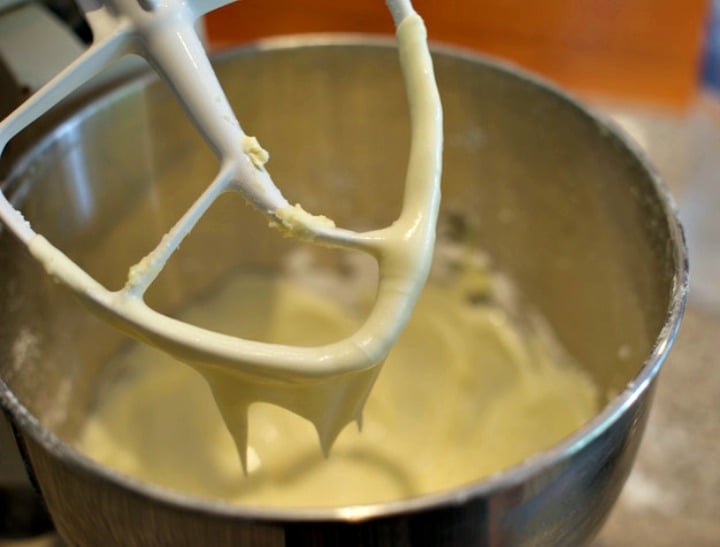
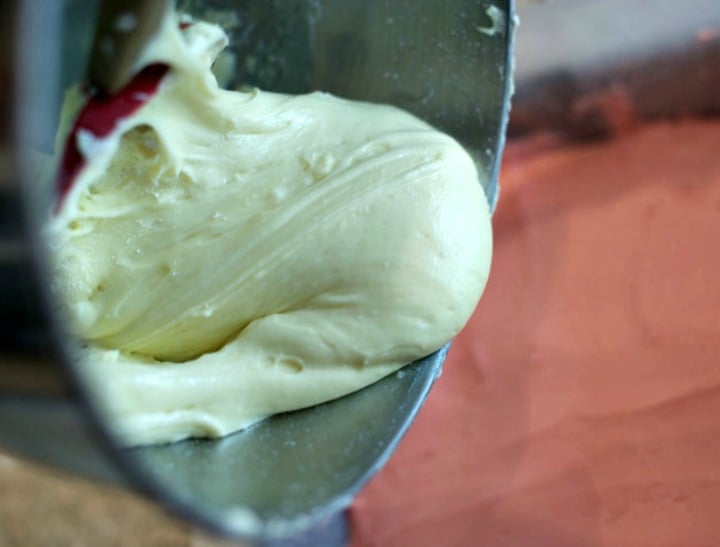
- In an electric mixer, beat cream cheese until fluffy.
- Gradually beat in icing sugar. Beat in melted white chocolate.
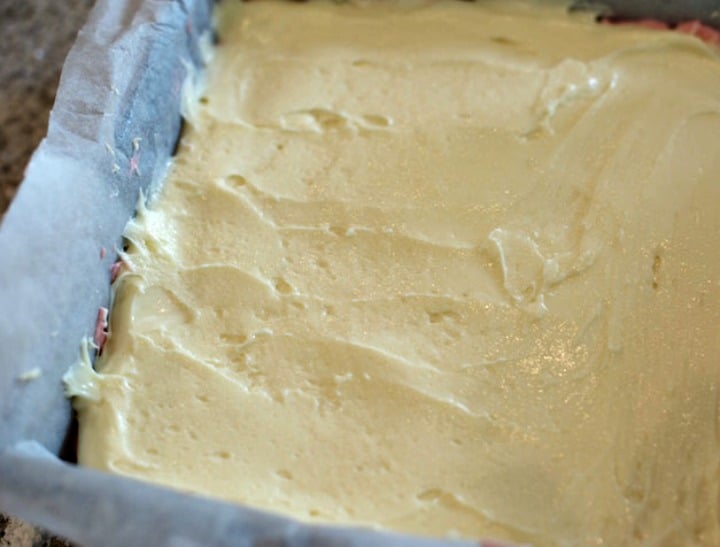
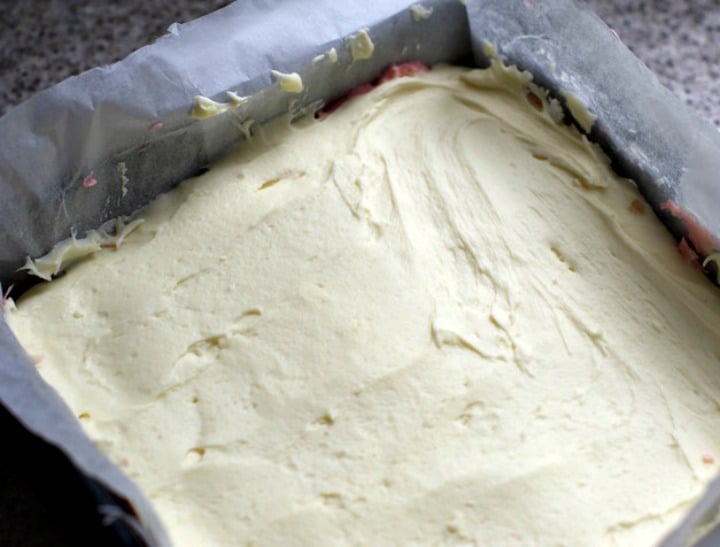
- Carefully spread over pink layer, trying to get layer as flat and even as possible. Refrigerate for 10 minutes.
- Cover and refrigerate for at least 3 hours but preferably overnight.
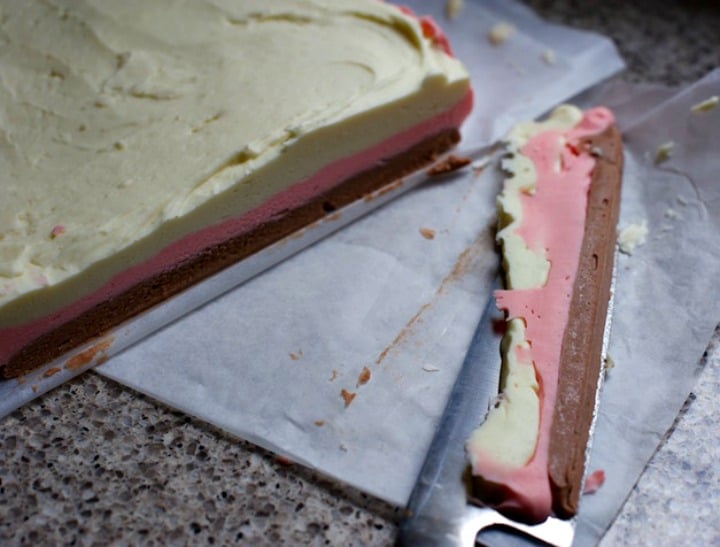
- Using baking paper, lift fudge out of pan. Cut fudge into 3 cm squares. Store in an airtight container in the fridge.
TAP and scroll through the gallery for a step-by-step guide in pictures...
How to make Neapolitan Fudge.
This post originally appeared on Phoodie.
Tags: