Hey, just checking in. How are your eyebrows going?
I know – now we’re all working from home and living in isolation to help keep Australians safe from the spread of COVID-19 (you can find out the most up-to-date coronavirus information here) for the near future, how your brows are looking isn’t the most urgent priority.
WATCH: How to do your eyebrows at home in a few easy steps. Post continues after video.
That doesn’t mean you aren’t allowed to feel mildly concerned about what your eyebrows will look like in the coming weeks/months if you’re A) someone who has regular eyebrow tinting and shaping appointments or B) are at risk of over-plucking them out of sheer boredom in self-isolation.
The good news (for your brows) is you can absolutely do your eyebrows yourself at home… with some helpful advice from a person who does brows for a living, Benefit National Brow Artist Hannah Mutze.
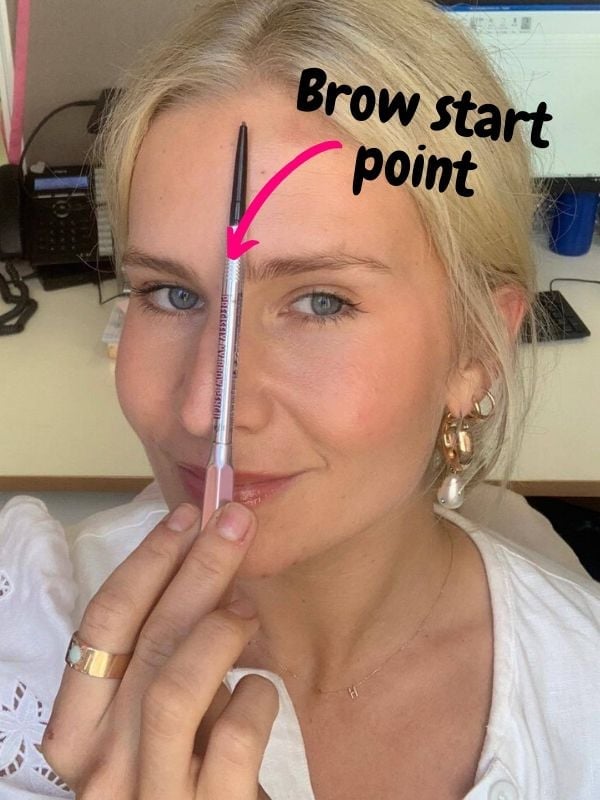
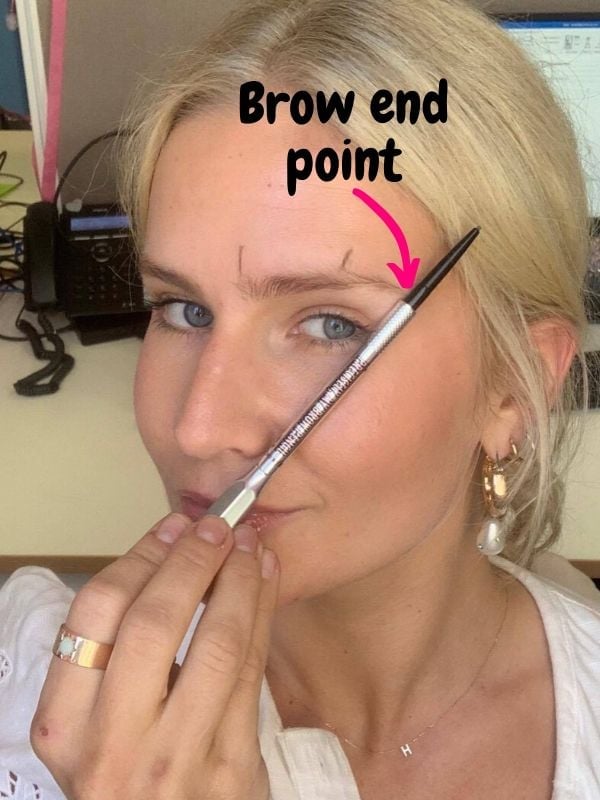
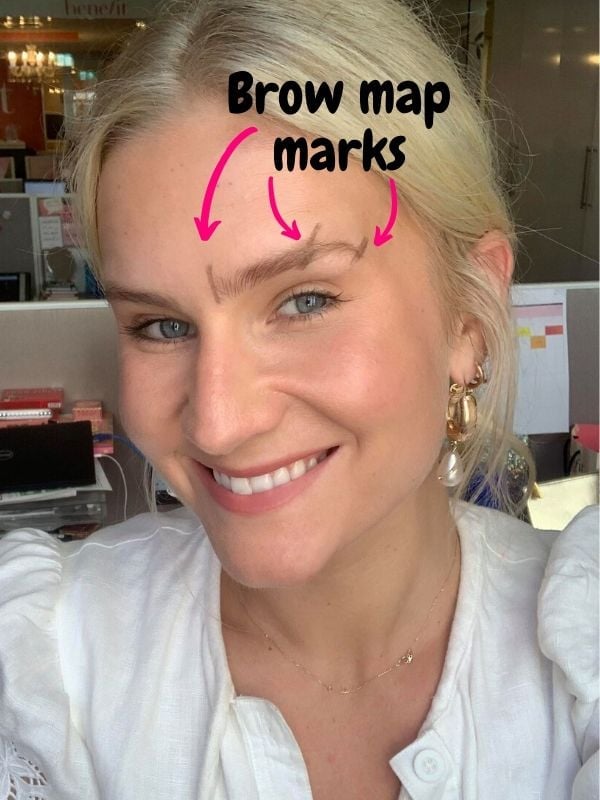
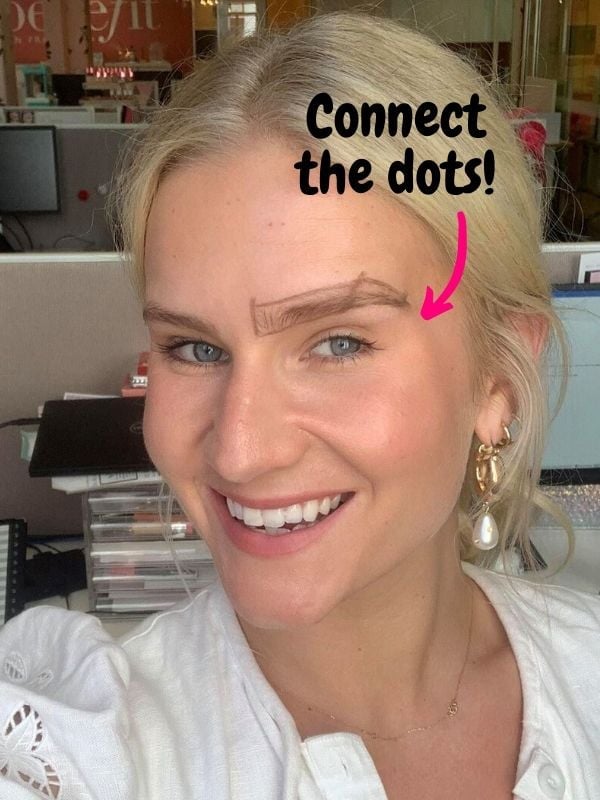
Below, you’ll find a step-by-step guide on exactly how to tweeze, pluck, tint and wax your eyebrows to see you through until your next professional appointment, as well as the few things you probably shouldn’t do yourself to avoid finding yourself in this situation:

Top Comments
I'm not a fan of this "dark, heavy brows" fashion.
I know no-one cares about what I'm not a fan of but - I reckon in a few years a LOT of people will look at their 2020 photos , see those monster brows and shriek with laughter.
I have a family member who often over-did the face-tanning for a couple of years and sported this odd "orange look".
Now she looks back with good humor - but that's the kind of girl she is.
I guess it's a bit like bright blue eye shadow or that black liner that some older women still draw under their bottom lashes.
Like most trendy fashions - it looked kind of OK on 18 year olds.
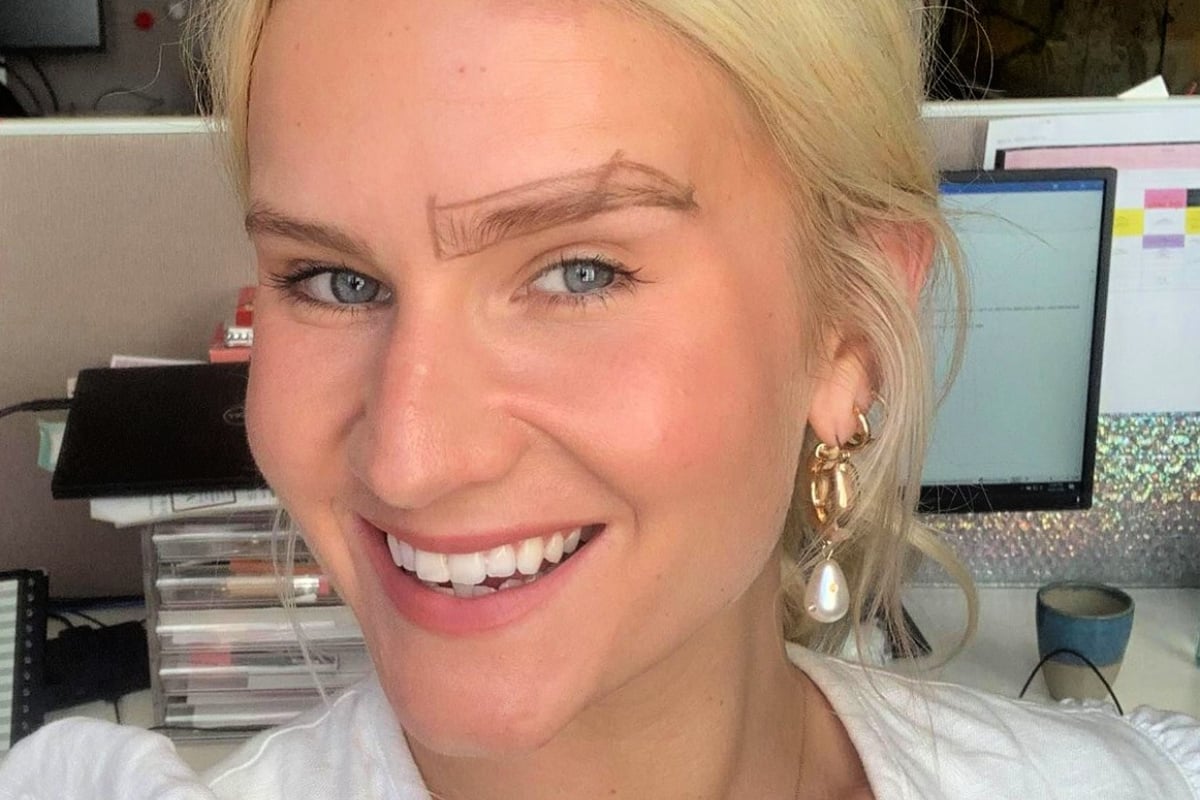
She's drawn the outline twice the size of her actual eyebrows! The second lot look better (to me), I'm with you, that 'drawn on with a sharpie' look doesn't do it for me. That said, my Aunty just posted an old pic of my Nana today, and her eyebrows were pencil thin (probably taken in the 30's), so as you say, every generation has its fashion/style faux pas!