
Image: supplied.
With the warmer weather comes Spring Racing season, summer parties, and weddings. And while that ‘dewy’ makeup look is perfect for all these occasions, sometimes it feels as though melts off your face 20 minutes after you apply it.
I picked the brain of makeup artist Sarah-Marie Khalil, an IT Cosmetics Australian representative and trainer, about how to achieve a glowy look and make it stay all day. Here’s how it’s done. (Post continues after video.)
1. Priming.
When it’s a hot day, you’re heading out for a long period of time, and you want your makeup to stay put then yes, priming is important. I always prime after I moisturise and put sunscreen on my skin.
2. Concealer, foundation, illumination.
According to Sarah-Marie, the trick is to set your make up with something that has illumination – but isn’t too sparkly or frosty.
“IT Cosmetics has a great illumination foundation, and it has a nice glow in it. You can also do that with your favourite foundation if you want to as well. Some people are quite loyal to one foundation and concealer, then you add that an illuminating product and mix it into the products you have already,” she tells me. (Post continues after gallery.)
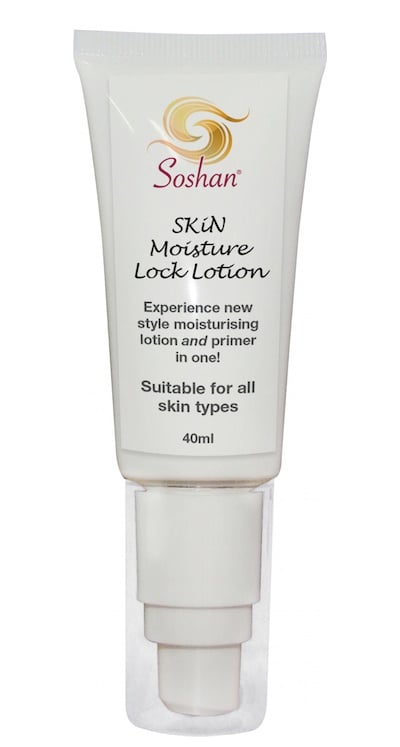
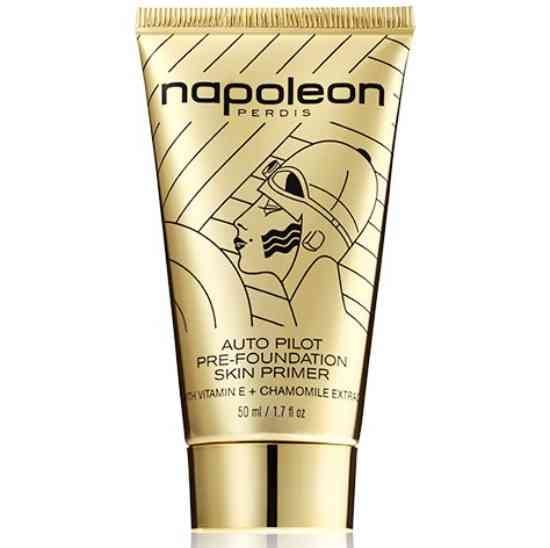
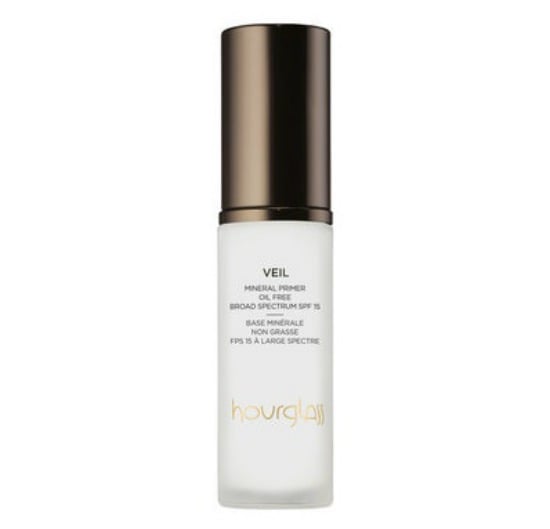
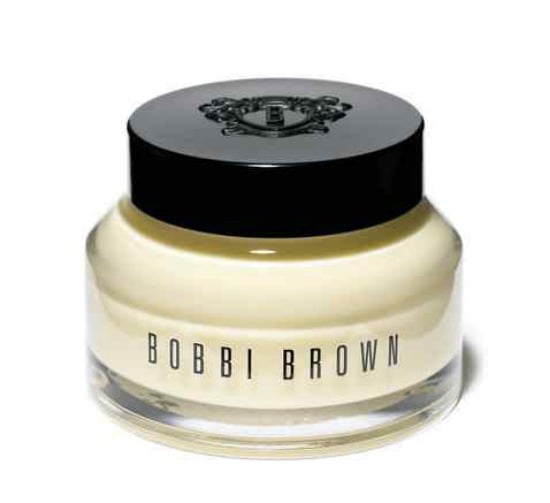
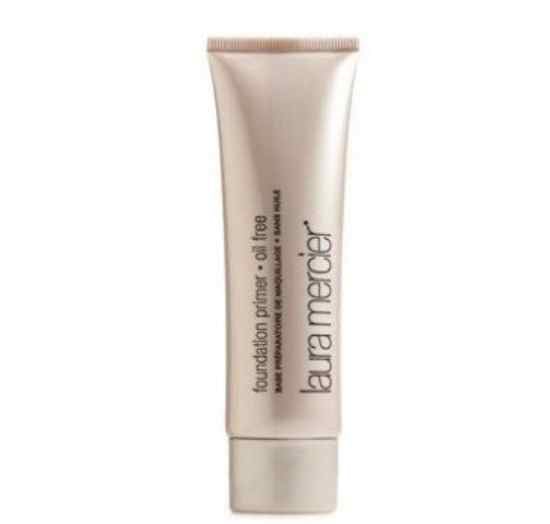
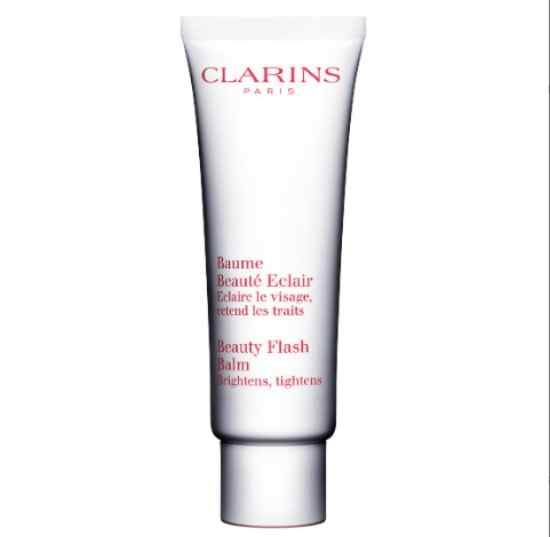
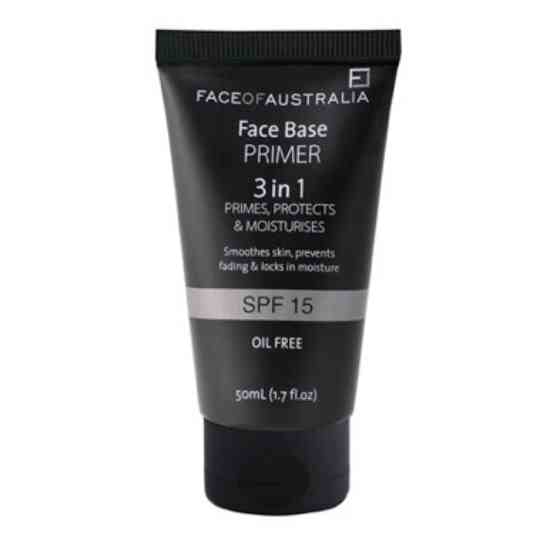
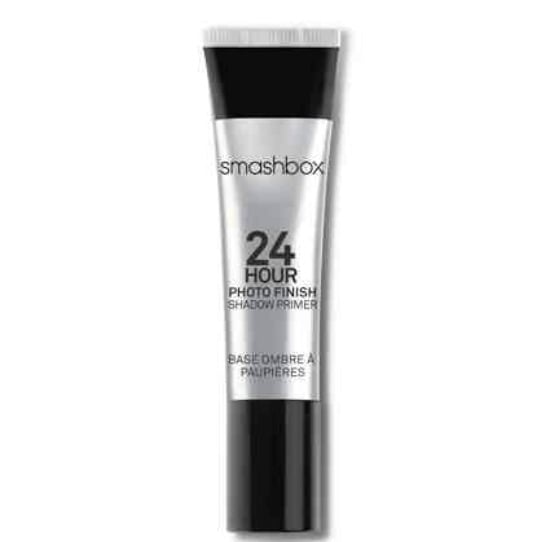
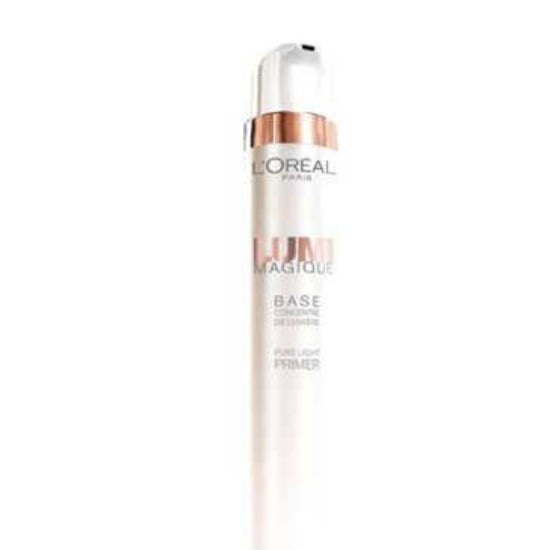
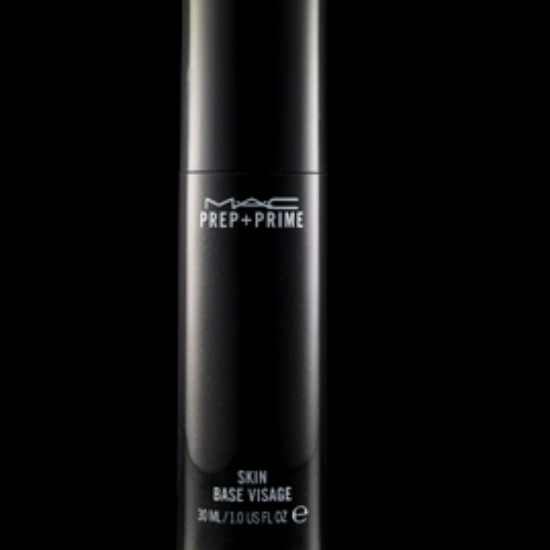
The Glow team's favourite primers
3. Baking.
Baking is a great way to set your makeup, especially your eye makeup. Ever notice you end up looking like a panda half way through the day? (Or is that just me?) Well, baking can prevent this.
Apply your concealer, foundation and illumination as normal, then apply powder and let it “bake” for five to 10 minutes before brushing it off. You can read more about baking here.
“Baking will stop your mascara and eye makeup from smudging throughout the day. Then if you do want to have more of a glow, you can add glow powder to the sides of the face,” Sarah-Marie says.