
While your skin continues to evolve and change with age, your beauty routine can often feel stuck in a rut. Especially when it comes to eye makeup.
You use all the same products, colours and techniques you've been using for years, and you're not quite sure if what you're doing to your eyes and brows actually looks - or feels - good anymore. Meanwhile, all those age-related concerns like fine lines and sagging skin only add to the confusion.
So, what are we supposed to do? How do we refresh the way we do our eye makeup as we hit our 40s, 50s and beyond?
The answer: Your beauty routine might need to get up to speed with your skin.
In part two of this series, Mia Freedman sits down with renowned makeup artist Rae Morris for a masterclass in makeup for mature skin.
Exclusive to Mamamia subscribers, Rae teaches us how to shape our brows and lift our eyes for a brighter, fresher-looking appearance.
Got your notepad? Let's go.
1. Start with the right brow mascara.
If you feel like eyebrow trends have gotten progressively more complicated over the years (are they supposed to be bushy? Sculpted? Laminated?) we feel you.
So, what's the best way to do your brows? What are the rules here?
Well, according to Rae, it doesn't have to be difficult. All you have to do is follow a few key steps to make sure your brows give your face a lifted look.
The main thing you need to do? Keep your brow tail lifted and your brows straight. With a handy brow mascara (she uses Benefit Cosmetics Gimme Brow, $45), Rae said it should take about 30 seconds.
We can get on board with that!
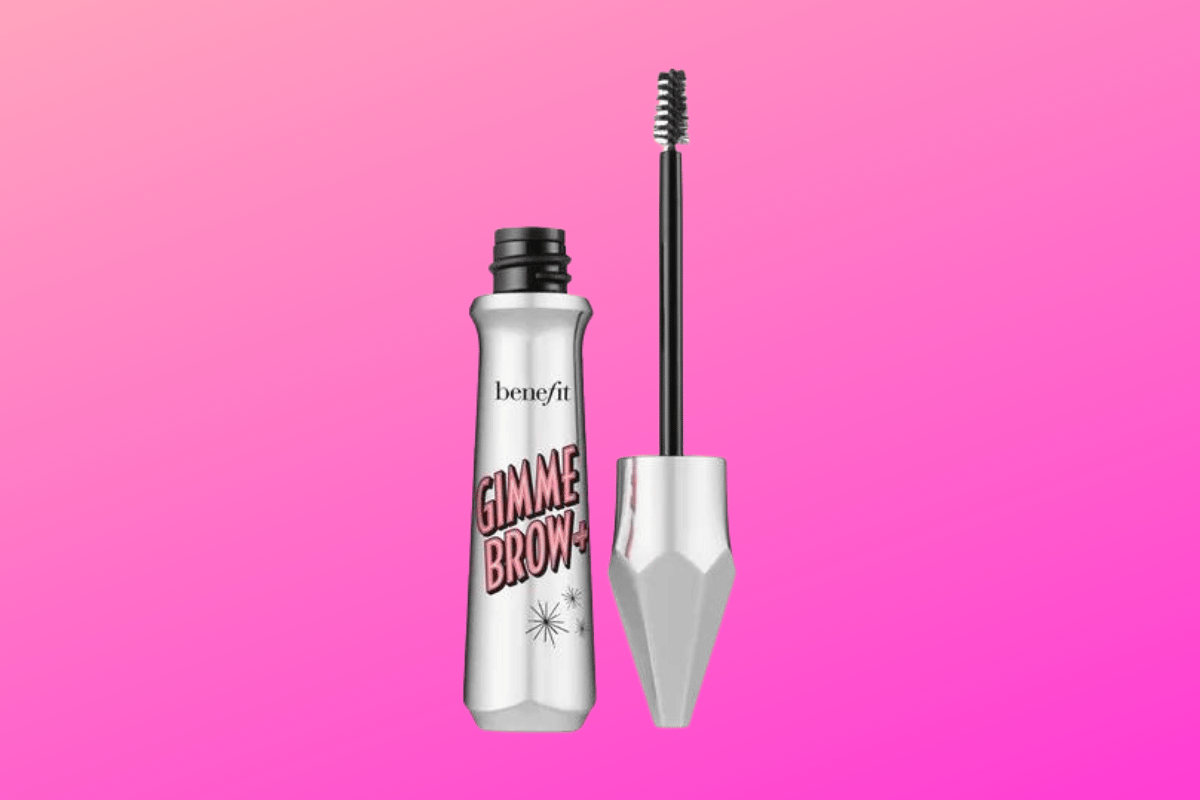 Image: Sephora
She tells Mia of her technique, "What you want to do is really get into the skin to get into any of those holes you might have."
Wiggling the wand through her brows and brushing them up to hold them in place, Rae says she always chooses a brow mascara that's a shade lighter than her natural colouring.
Why? "They colour any greys and you get a brow that's twice as thick. And you can just run out the door - a simple, really quick, boom-you're-done brow look."
2. Keep your brow tail lifted.
Another important nugget? For a more lifted look, don't pull your brow tail down - keep it nice and high.
"You know that rule that we were taught to end your brow corner on the nose corner of the eye? The best trick, actually, is that if in doubt, go shorter. It's just more lifting," said Rae.
She goes on to explain that as we get older, we develop hollow temples. So, if you style the tail of your brows downwards, they actually go into the temple area and get... lost. Especially in photos.
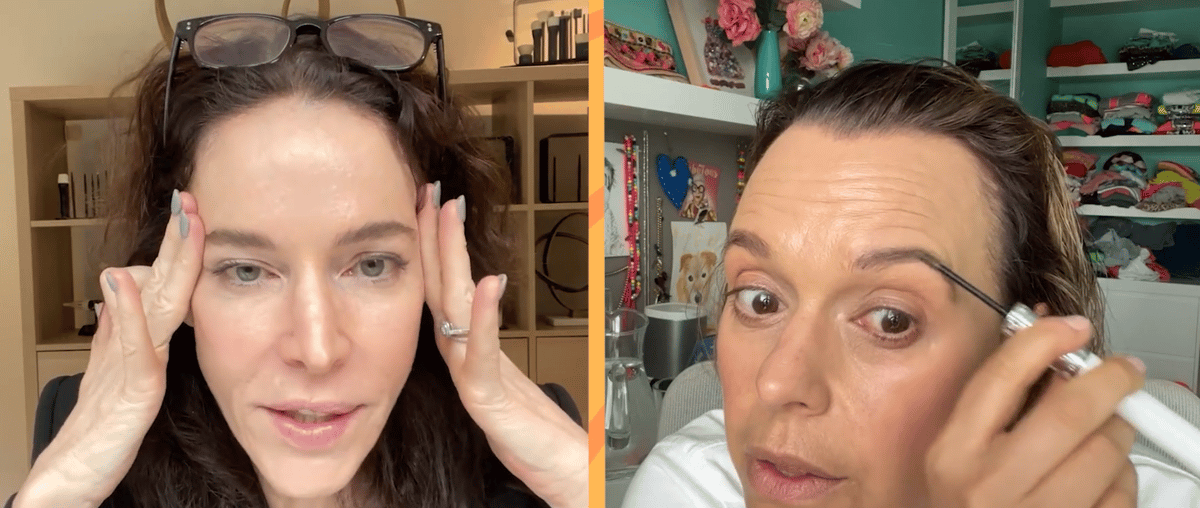 Image: Mamamia
The result? Spock brows.
And approximately NO ONE wants Spock brows.
 Image: Giphy
"Lower the brow, take the arch out and make it more straight - and then just try not to pull the tail down. Keep it lifted," Rae says.
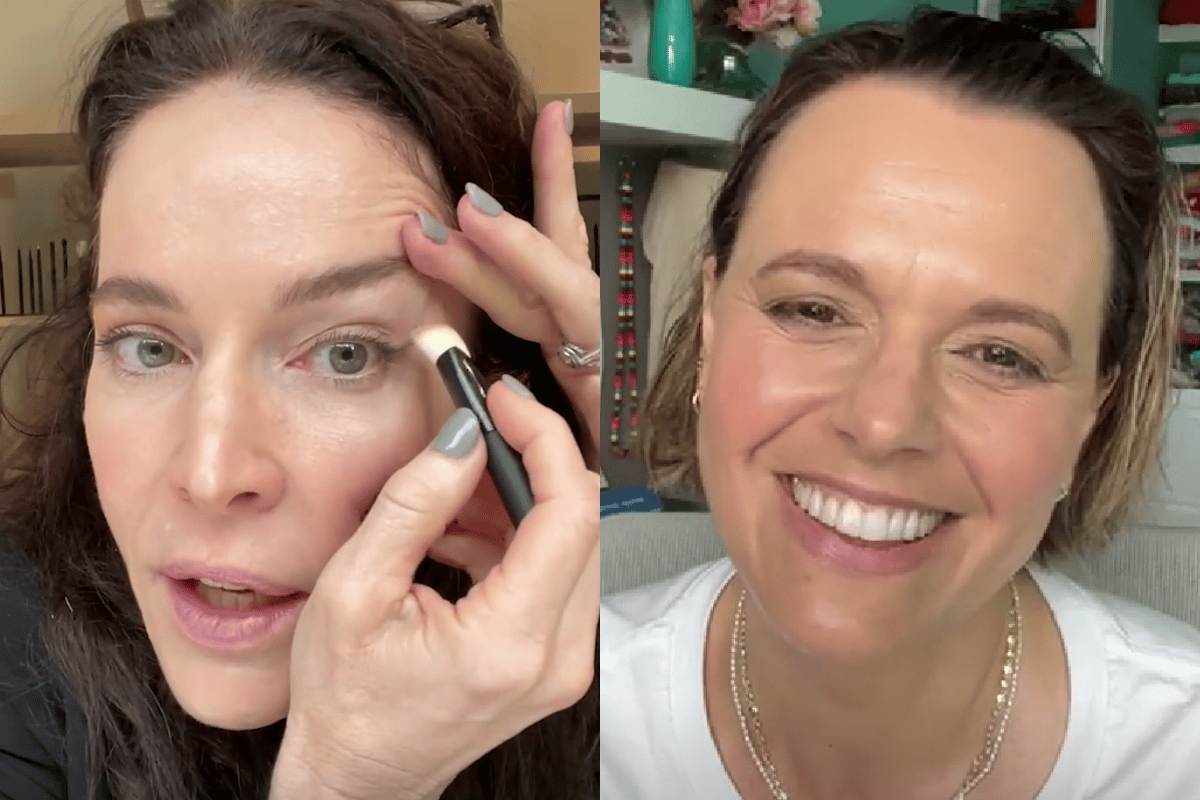
3. Create a 'false socket'.
As Mia points out, the drooping of your eyelids and that hooded appearance that comes with natural ageing can make eyeshadow application very tricky.
So, what's the best way to navigate this? Should you just ditch eyeshadow completely?
According to Rae, no - because there's a really simple trick to opening up your eyes.
"What you want to do is create what I call a 'false socket'," she tells Mia. "To open up the eyes, you want to create an eyelid. This is a space that we lose when we get older because our eyelids get heavy."
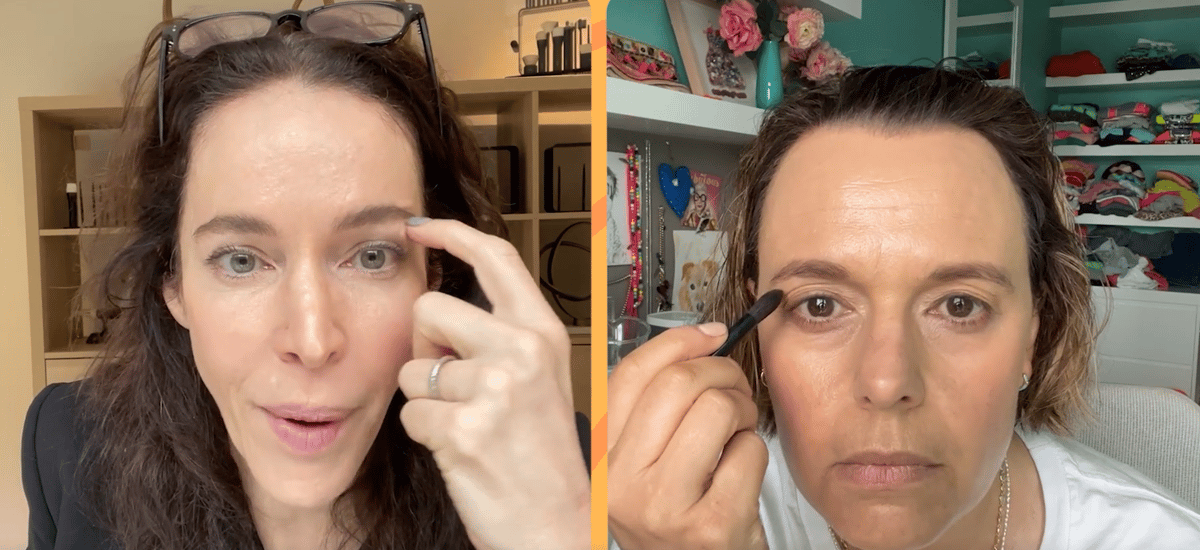 Image: Mamamia
She says that those with drooping or hooded lids usually lift up their eye and put eyeshadow on - but when they look down, it's gone.
"Think of where your eyelashes are - you want to create a socket that sits above [this area]," Rae tels Mia.
She then takes a pointed brush and applies eyeshadow to this area, blending it out to "sculpt and lift the eyes."
When it comes to what eyeshadow colours are best to use, she recommends opting for natural colours, like Trinny London Sherine, $45.
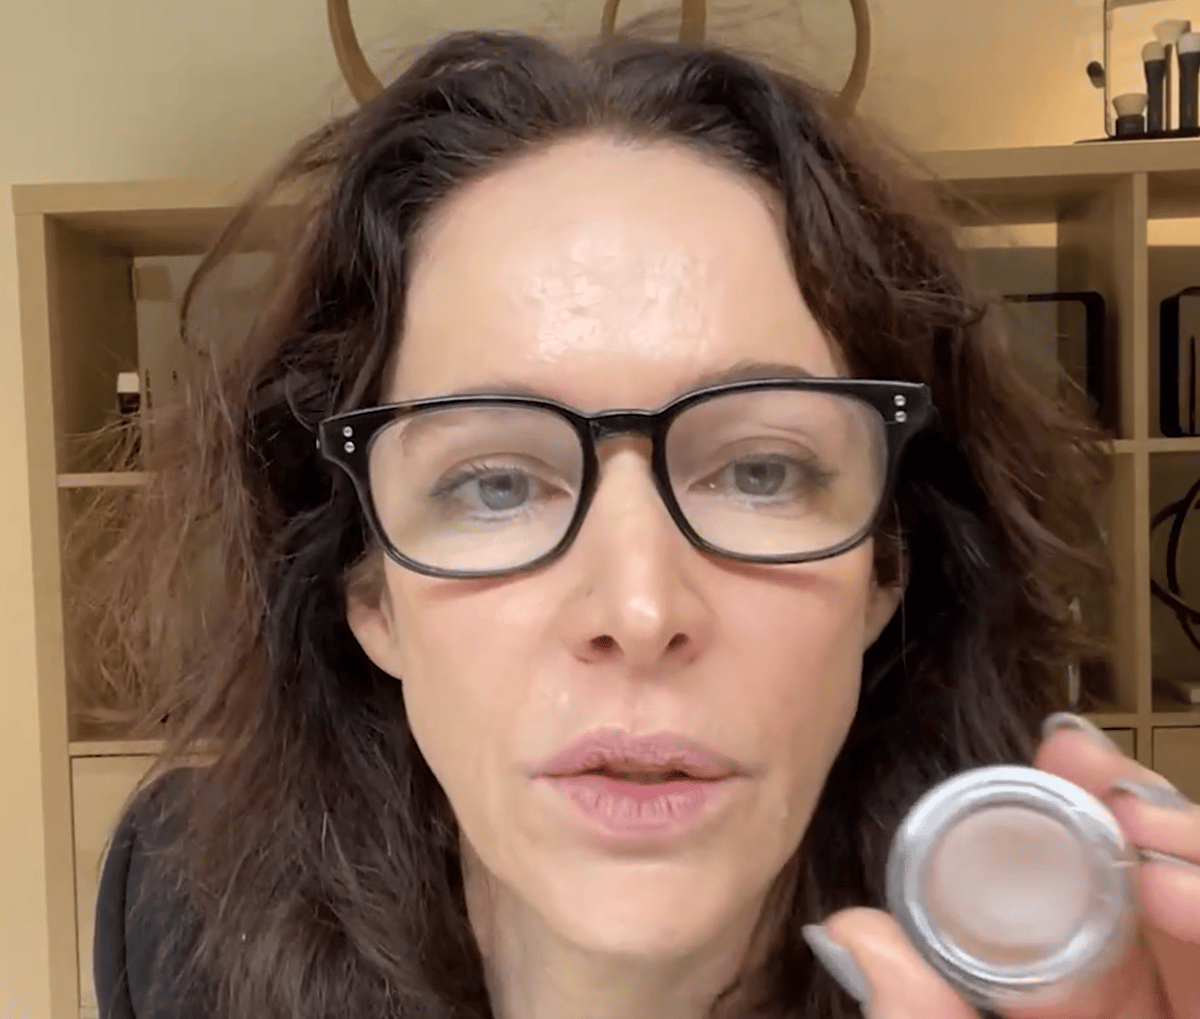 Image: Mamamia
"Poo browns are [also] great because you're creating shadows. You're not trying to make a sparkly eye. Think of any colour you'd normally contour your cheek with in a matte shade - grey, brown, taupe."
"One of my favourites is from Ellis Faas. It's not cheap, but it's good. L'Oréal [also] has some great chubby sticks."
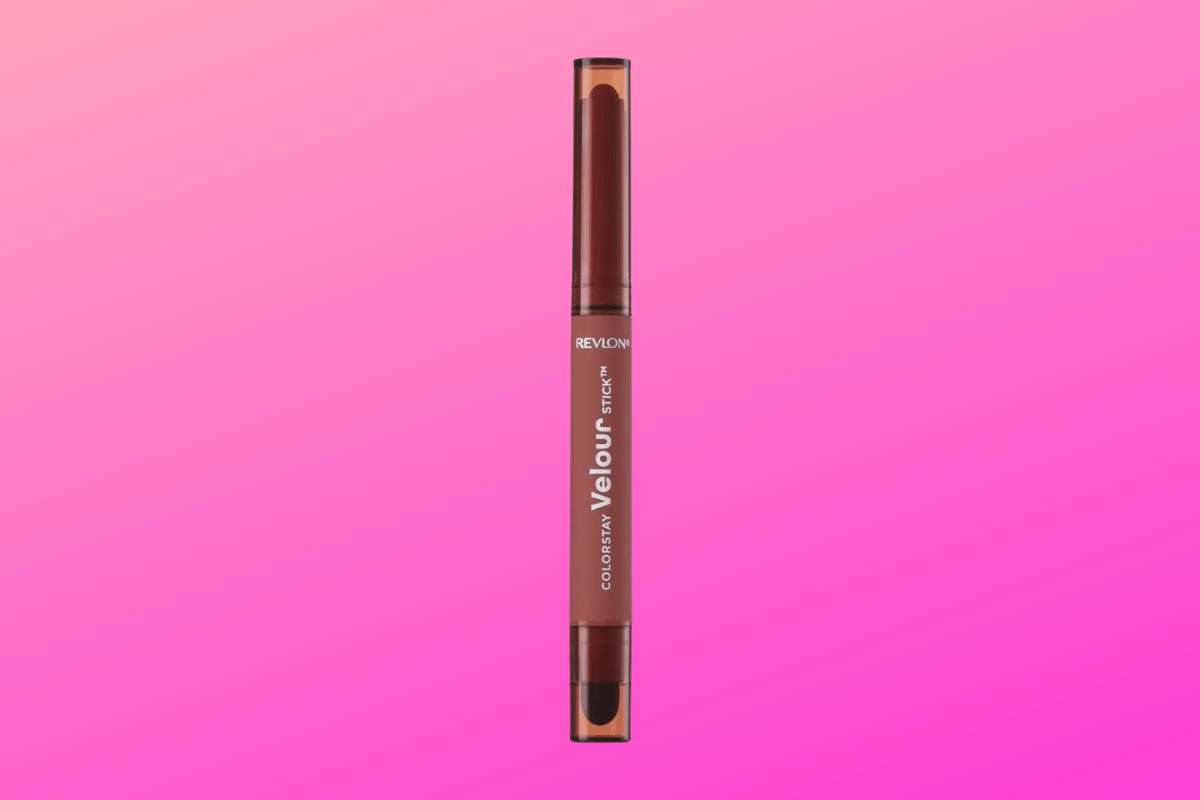
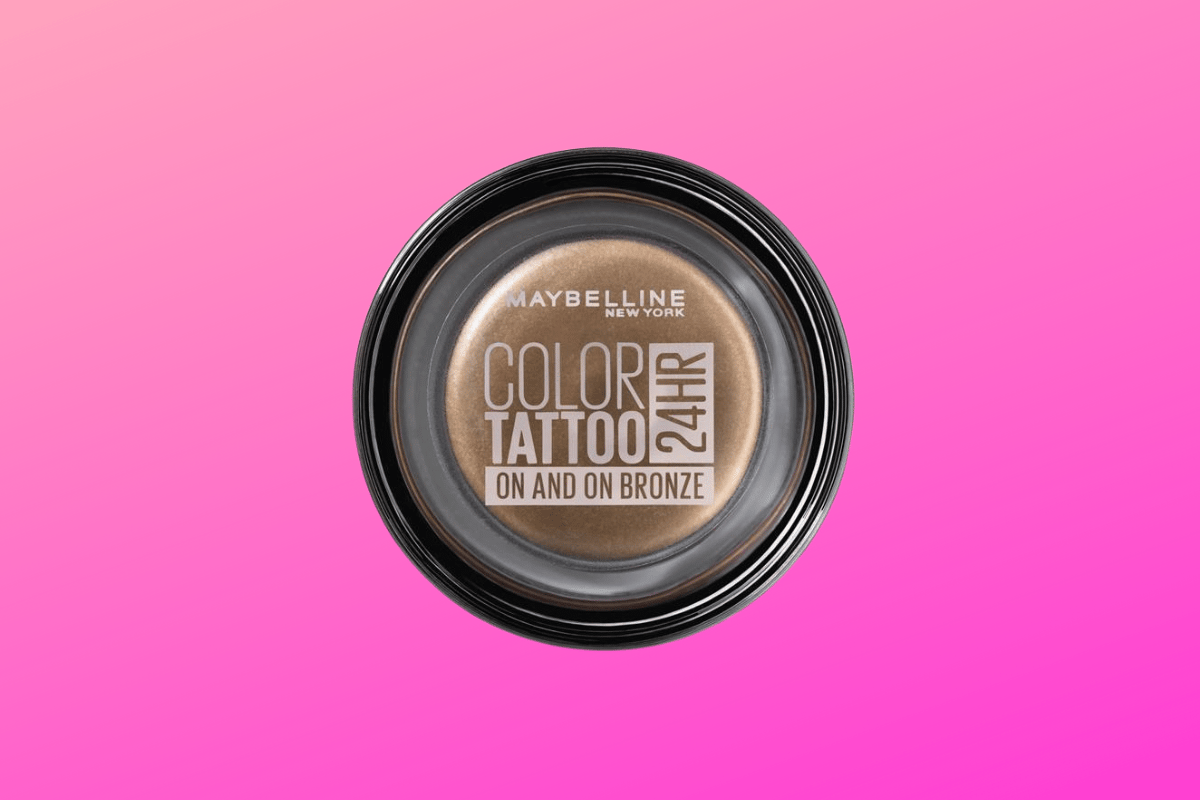
If you're looking for some more affordable options, try Revlon Colorstay Velour Stick in Sierra, $16.49 or Maybelline Eye Studio Colour Tattoo 24H Eyeshadow On And On Bronze, $6.49.
Looking straight ahead, Rae said to focus on the part of your eyelid that's puffy - basically creating a socket on that area.
"The way you put a product into a brush will change your life - you only ever want to put product on the very tip [of the brush]. This keeps all the other bristles clean of the product. When you add pressure, it blends for you. Slamming your brushes heavily into product just becomes a hot mess."
Note taken.
"You lift your eyebrow up, stick the brush in and you let it go. And guess what? It works for anyone with uneven eyes. Whatever touches that brush will contour and shade it back."
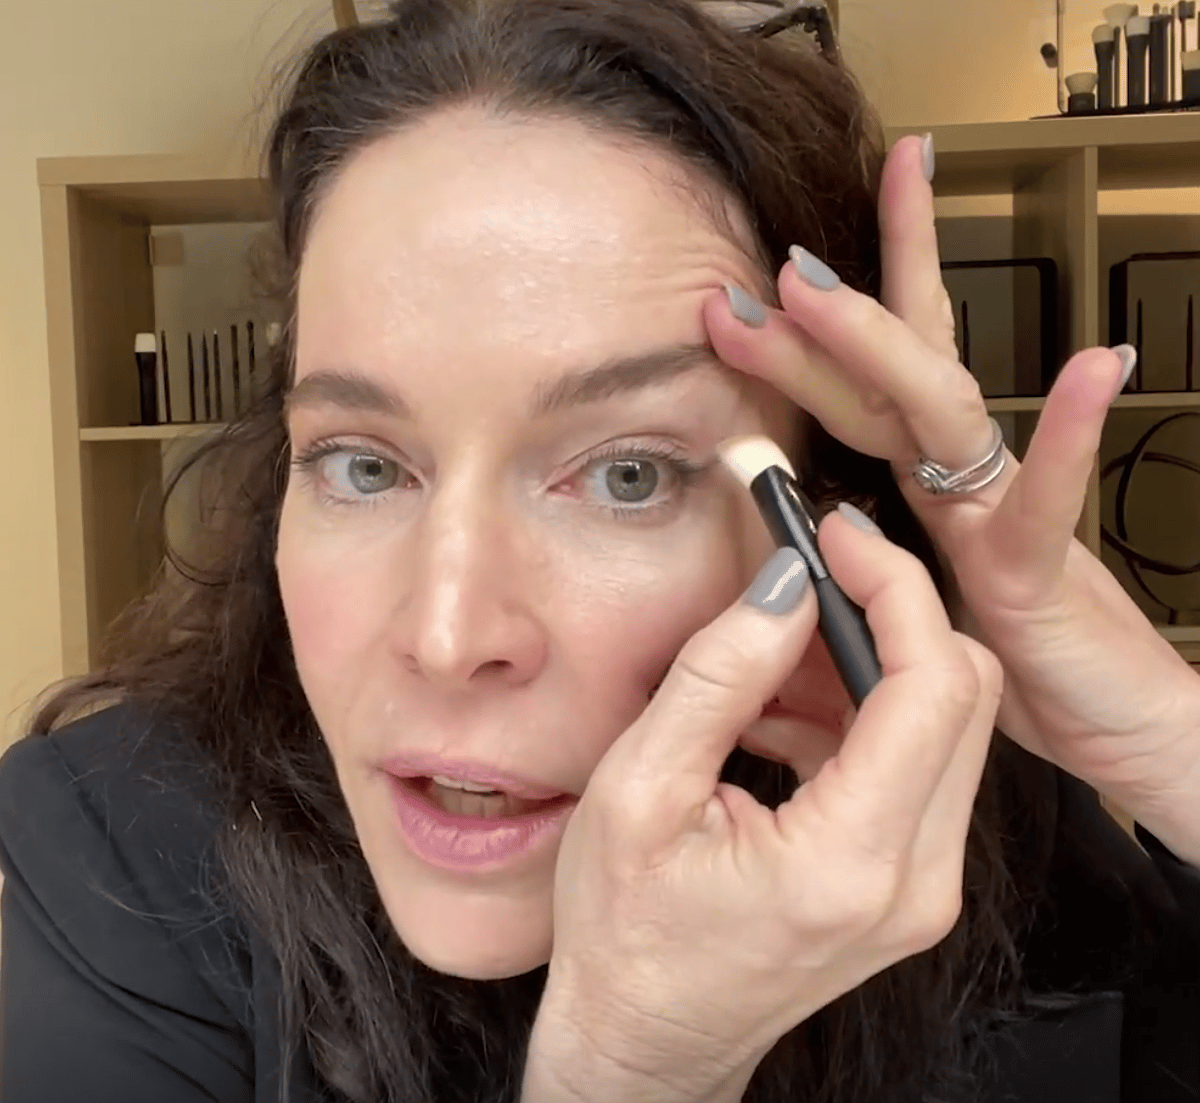 Image: Mamamia
"When you tilt your head back, you've got your guide. You can fill [the rest of the eyelid] safely - put your brightest colour on, go nuts! Go to town!"
4. Always extend your under eyes.
Another great Rae-approved eye makeup trick? She said to always make sure you extend your eye makeup up and out.
"So, do your under-eye first. I've just got a smudgy grey pencil. Greys are great."
"All I want you to do is come under your eye and just extend it out - give yourself that little bit of pull. Think of the tight ponytail and what you do whenever you extend your eye makeup out."
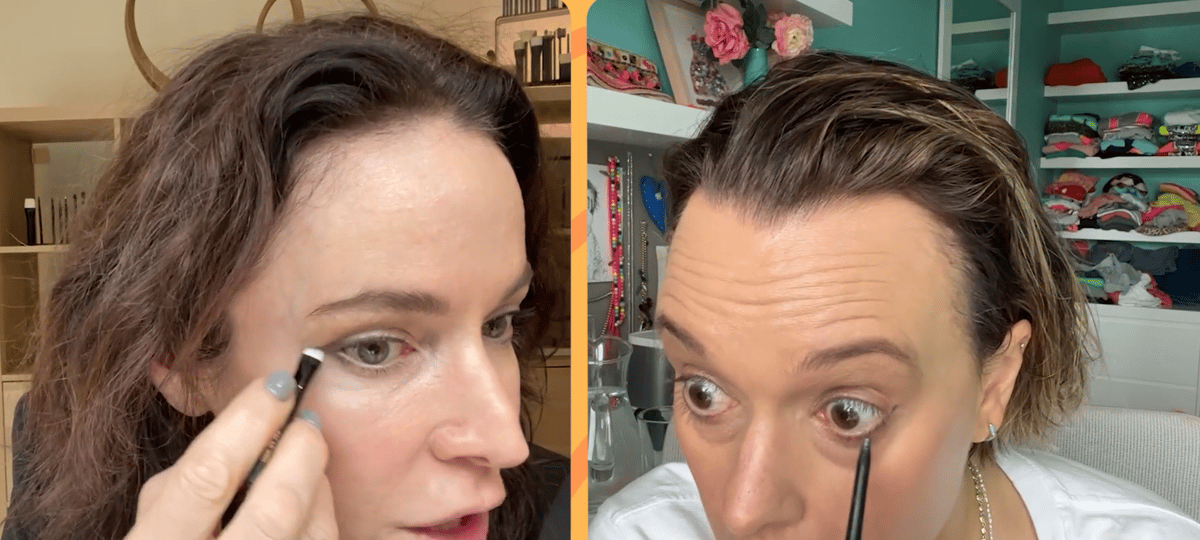 Image: Mamamia
Instead of drawing a full cat eye flick, Rae said to drag the pencil out and stop it short, then use a brush to extend it out for that sweeping, lifted look.
"If you do all your top eye makeup first and then you try to join the bottom eye to the top, you cut your eyes off and cause this droopy eye [effect]. When you do your bottom eye and extend it out, you join your top eye into the bottom."
Mia goes on to say she didn't know that you should always line your under eye, and honestly SAME.
5. Focus on straightening the under eye.
"What we all want is lift and pull," said Rae. "If your under eye is naturally rounded, you don't line all the way across your lower lash line."
"That's why using square brushes is revolutionary. You want to keep your under eye shape as straight as you can because straightening your under-eye lifts it."
Enter: Rae's triangle trick.
To lift and straighten the under-eye, she focuses on creating a little triangle on the outer corner of her eye.
After applying a grey pencil to the outer corners of her lower lash line, she uses a square brush to pull it down and then pull it out, straightening the under eye, rather than following her natural roundness.
Still following? Great!
6. Use foundation as an eraser - from nose to eye.
"So, let's just say you've now got a hot mess around your eyes. Pick up a brush with foundation and apply it from the corner of the nose to the corner of the eyes. You use it like an eraser," said Rae.
The result? A lifted, brighter eye.
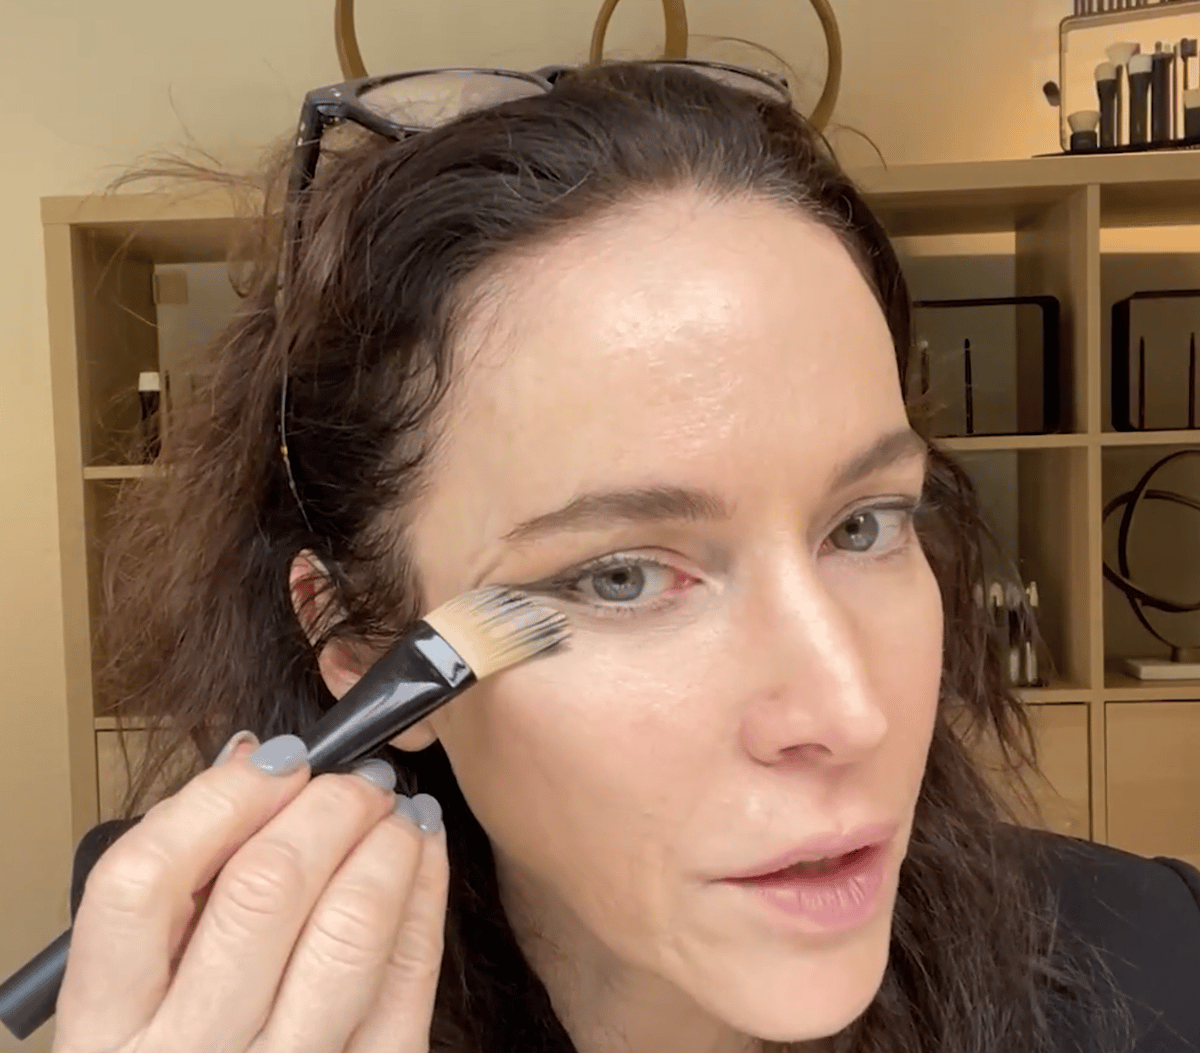 Image: Mamamia
The other easy eraser trick?
"You just get a cotton tip and do the spit trick," said Rae. "If I'm doing this on a model, by the way, I use their spit, not mine! But you just do a clean-up and that just lifts your eyes."
"I always say no matter what, when you do eye makeup, do that anyway - it just guarantees you haven't pulled your eye down."
7. You don't always have to apply mascara to your bottom (and inner) lashes.
If you're like Mia and don't like a heavy mascara look, but always apply mascara to your top and bottom lashes because... you just have to (?), then this one's for you.
Because depending on what kind of eye look you want to achieve, coating your bottom lashes isn't always necessary.
Rae said, "If you want to make your eyes more rounded, do top and bottom to open your eyes."
But if you already have rounded eyes and want a lift, applying mascara to your top lashes only (and leaving the bottom ones bare) will give you more of a lift than doing top and bottom.
Lastly, Rae said, "Don't put so much mascara on the inner bottom lashes - it can pull your eyes in. Try this trick if you're doing your bottom lashes - just do the outer corners."
8. Use a metal brush to apply mascara to your bottom lashes.
"I love using a metal comb. Once you use this, you'll never use a wand again," Rae tells Mia.
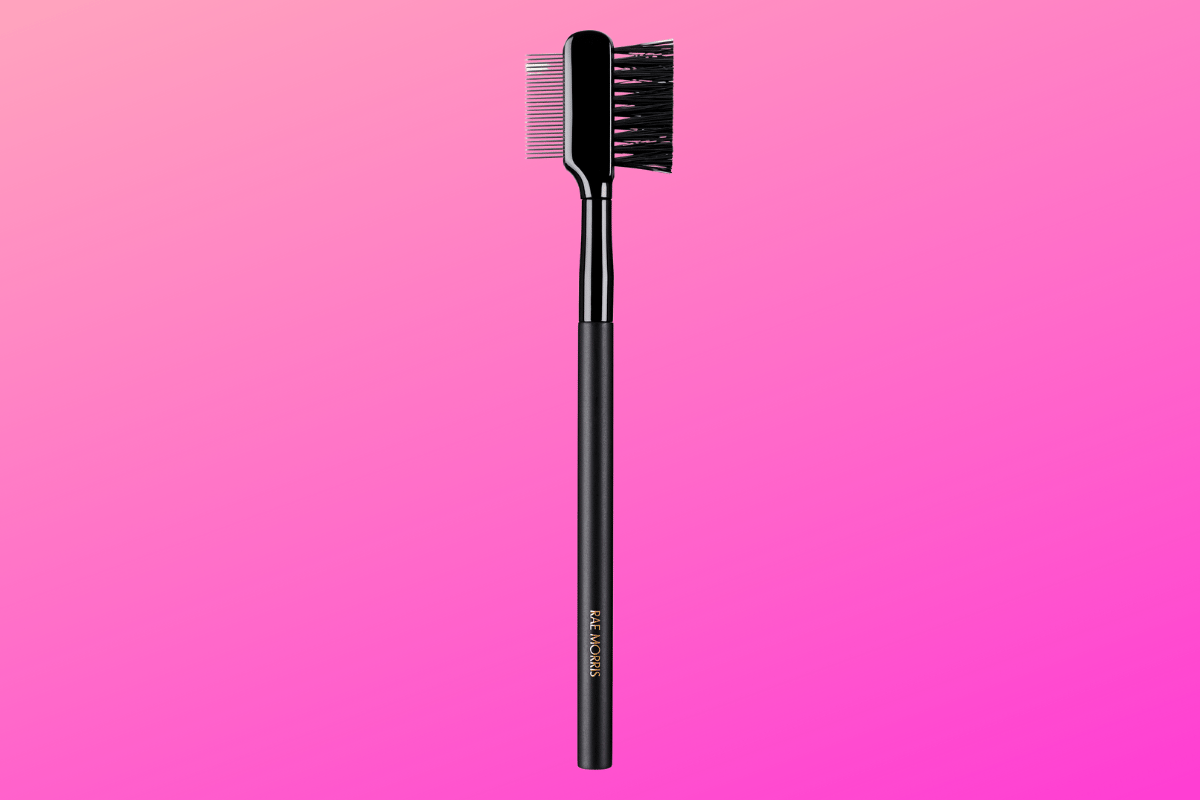
Why a metal wand? Well, apparently it gets every lash - right to the root.
"If you want intensity, you put [your mascara] on a metal comb," she said.
"It's a trick Angelina Jolie's makeup artist taught me. You can just apply it to the roots of your bottom lash and you can pull the wand out so that way you get this intensity without pulling the eye down."
Well, if it's good enough for Angelina Jolie, it's good enough for us!
Wanna check out the video? Head here. Haven't watched the first one? Catch up here.
If you're keen to know about the skin changes Mia has made in her 40s, you can read about that here, or take a peek at the two serums Mia Freedman uses every day.
Feature image: Mamamia.
Are you actively taking steps to improve your health and general wellbeing? Take our survey now to go in the running to win a $50 gift voucher.